Lessons in home scanning with CineStill 800T
I made a big shift in my film photography journey this month. Usually when I send my film to the lab I pay for them to develop the film and scan it in. The lab I use charges about $6/roll for scanning and $7/roll for development. When I send in 5-6 rolls at a time that adds almost $40 to my overall cost.
A few months ago I bought a Plustek Opticfilm 8200i scanner to start scanning in higher resolution negatives than what I've been getting back from the lab. Film photography is already kind of an expensive hobby, so I decided to cut some costs by doing the scanning at home. It's very time consuming, but and I'm not even fully convinced it's worth it... but I like to think that having this much more control over the end product will be good for my work in the long run.
Couple under the arch
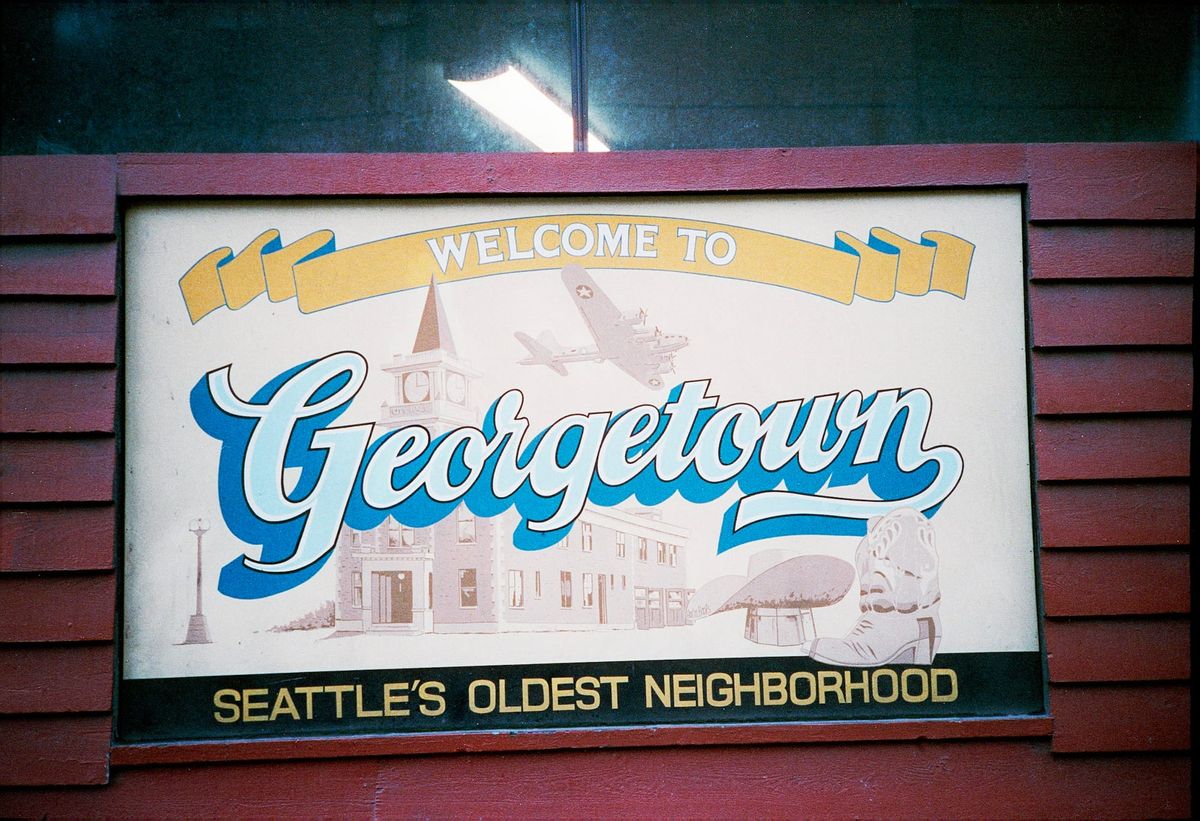
One of the first things I realized is that when I'm inconsistent about loading, I often won't realize that a photo is flipped or reversed until I find something referential like text or signs. In this case, the left image was what I scanned in vs the right image is what I actually saw.
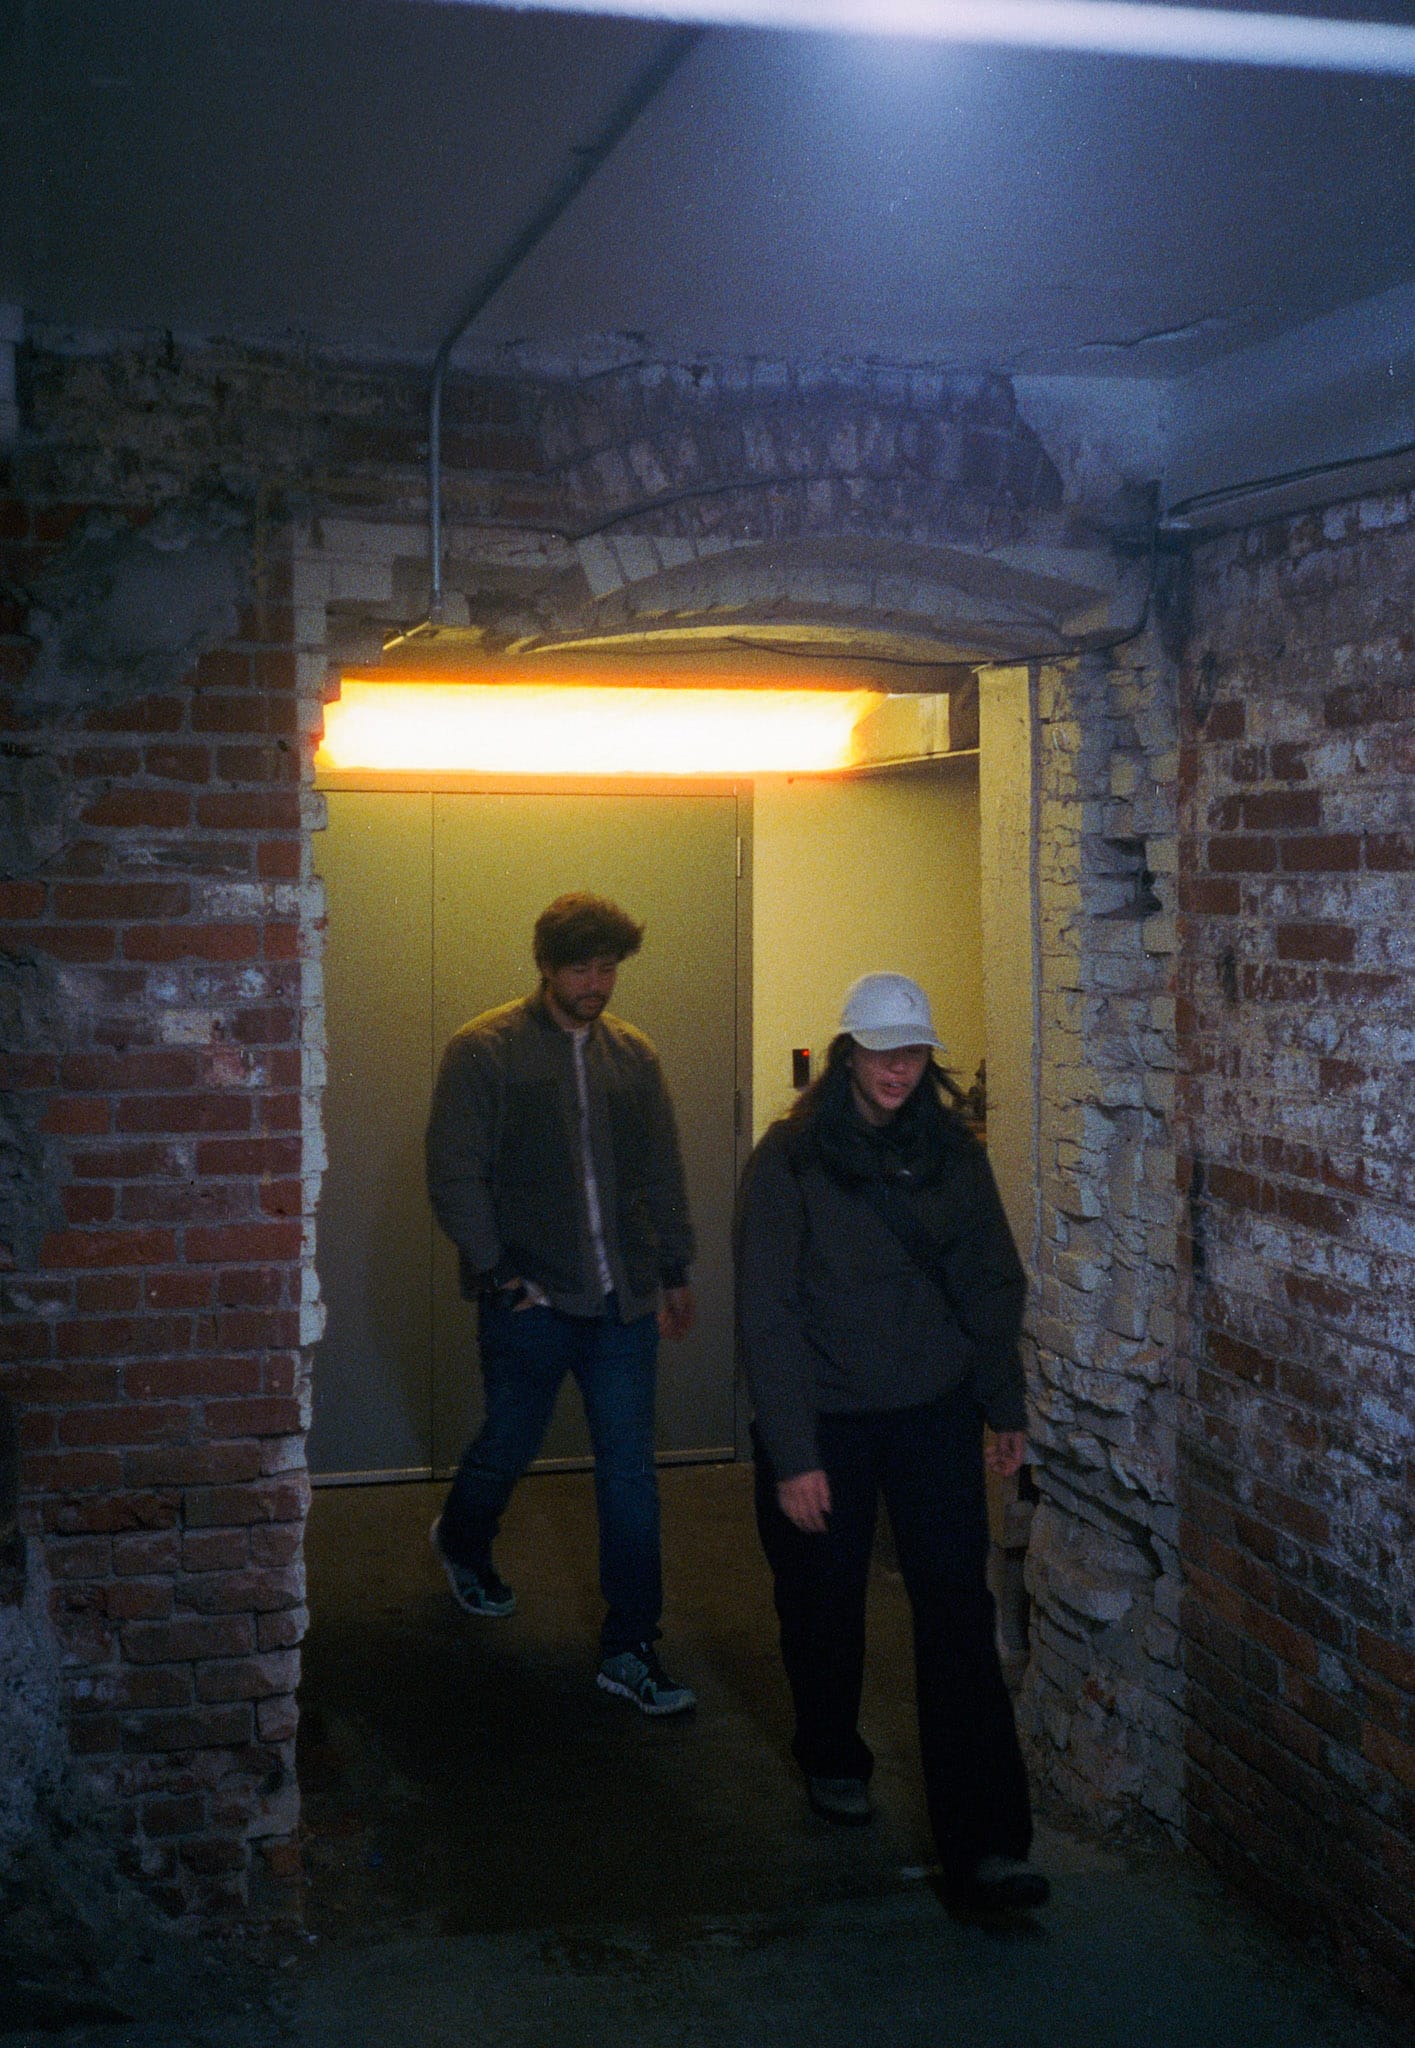
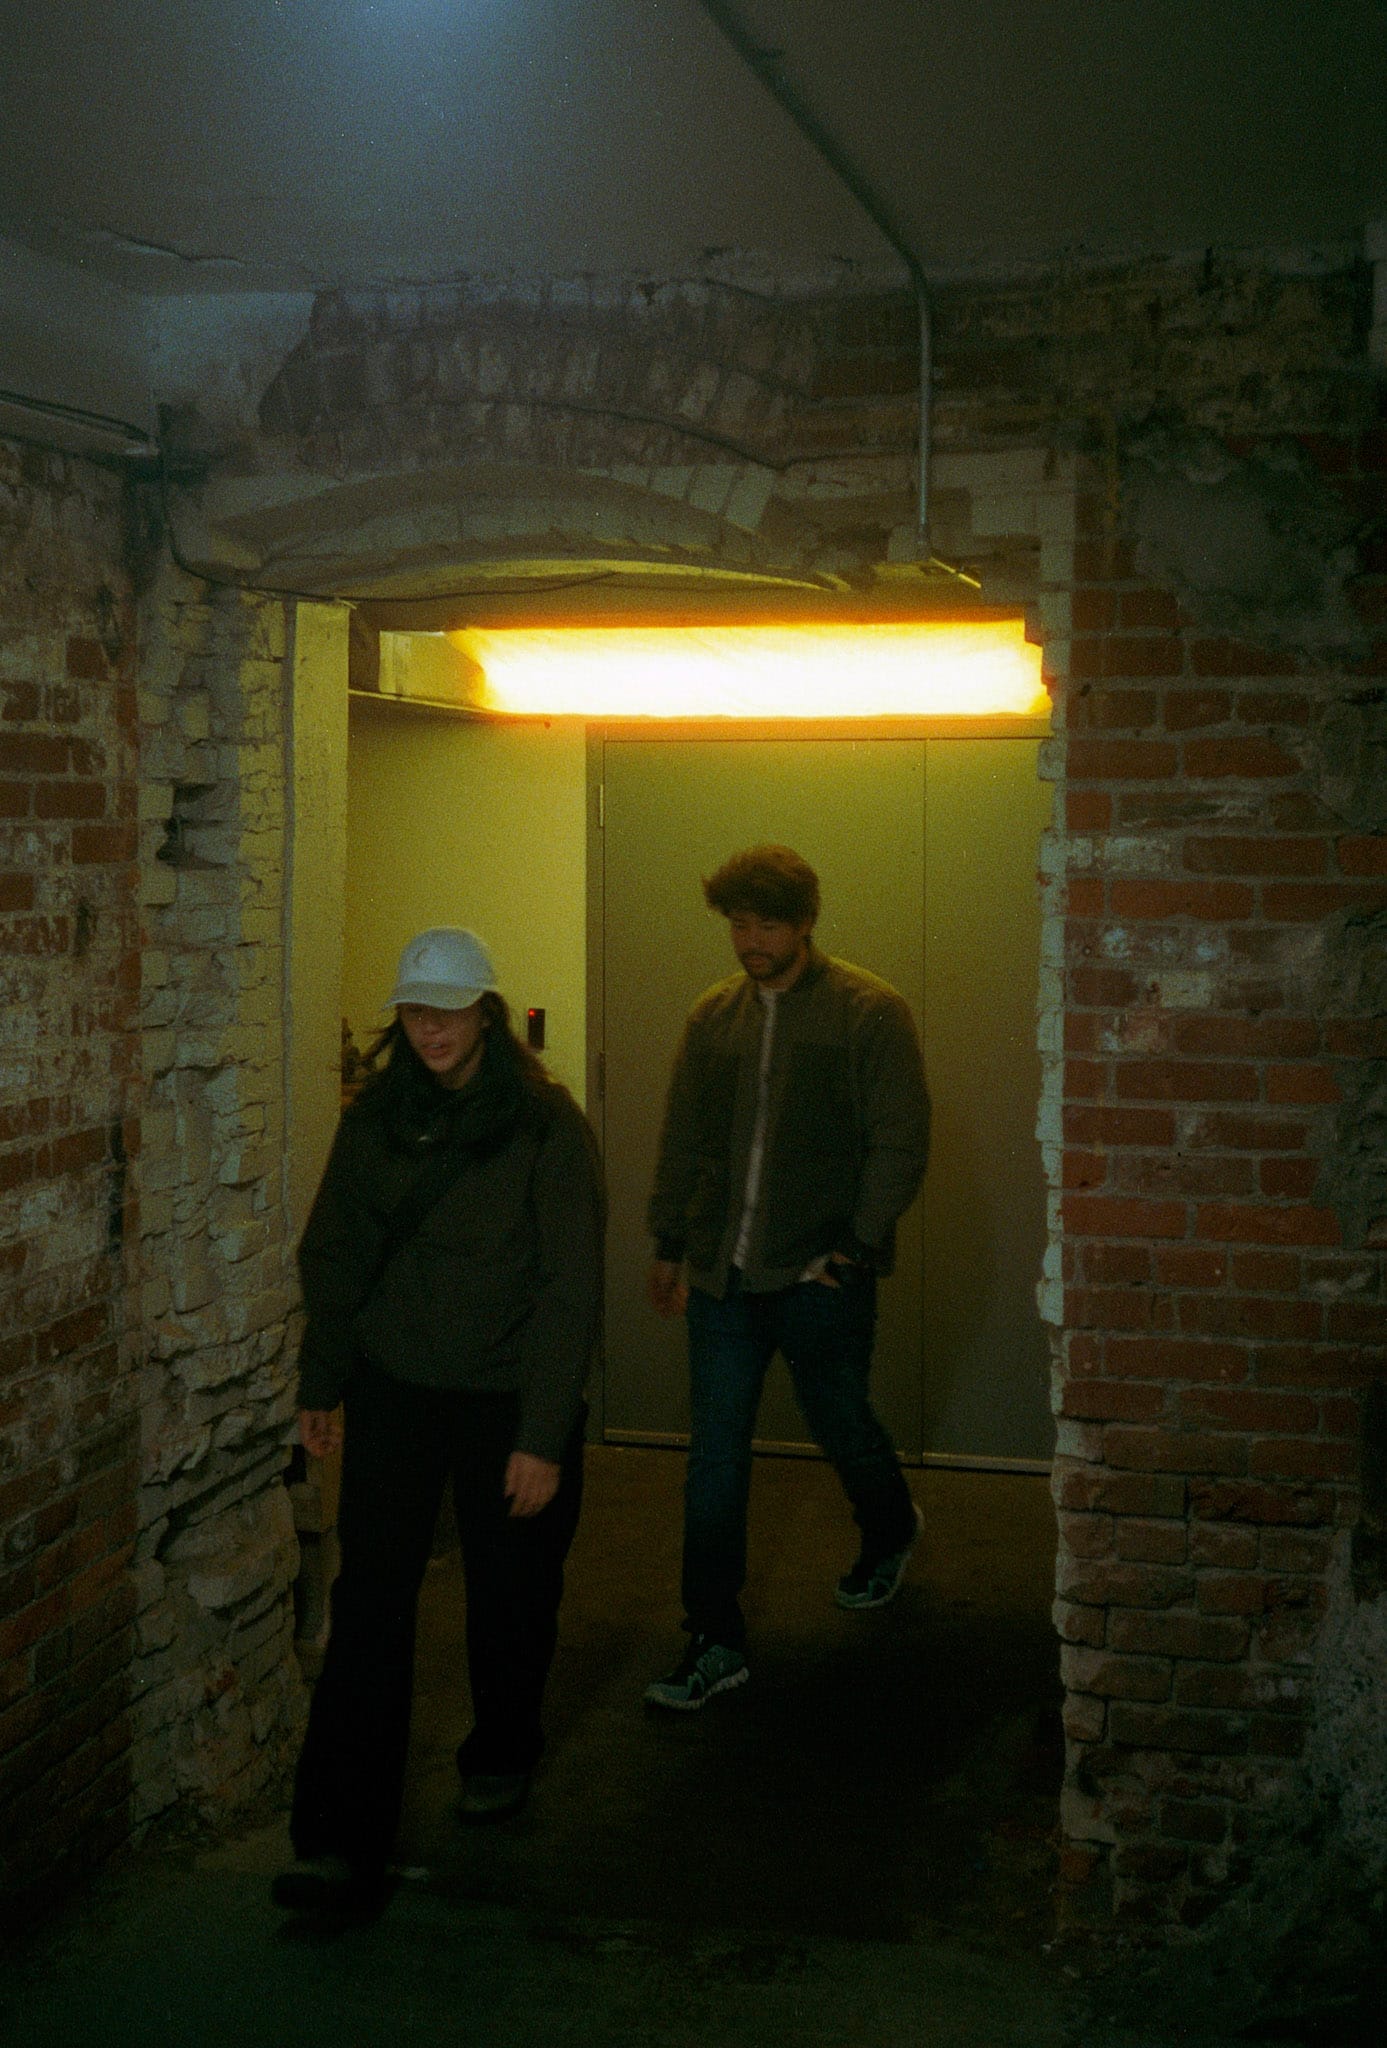
Left: straight off the scanner, Right: scanned with adjusted black/neutral/white points
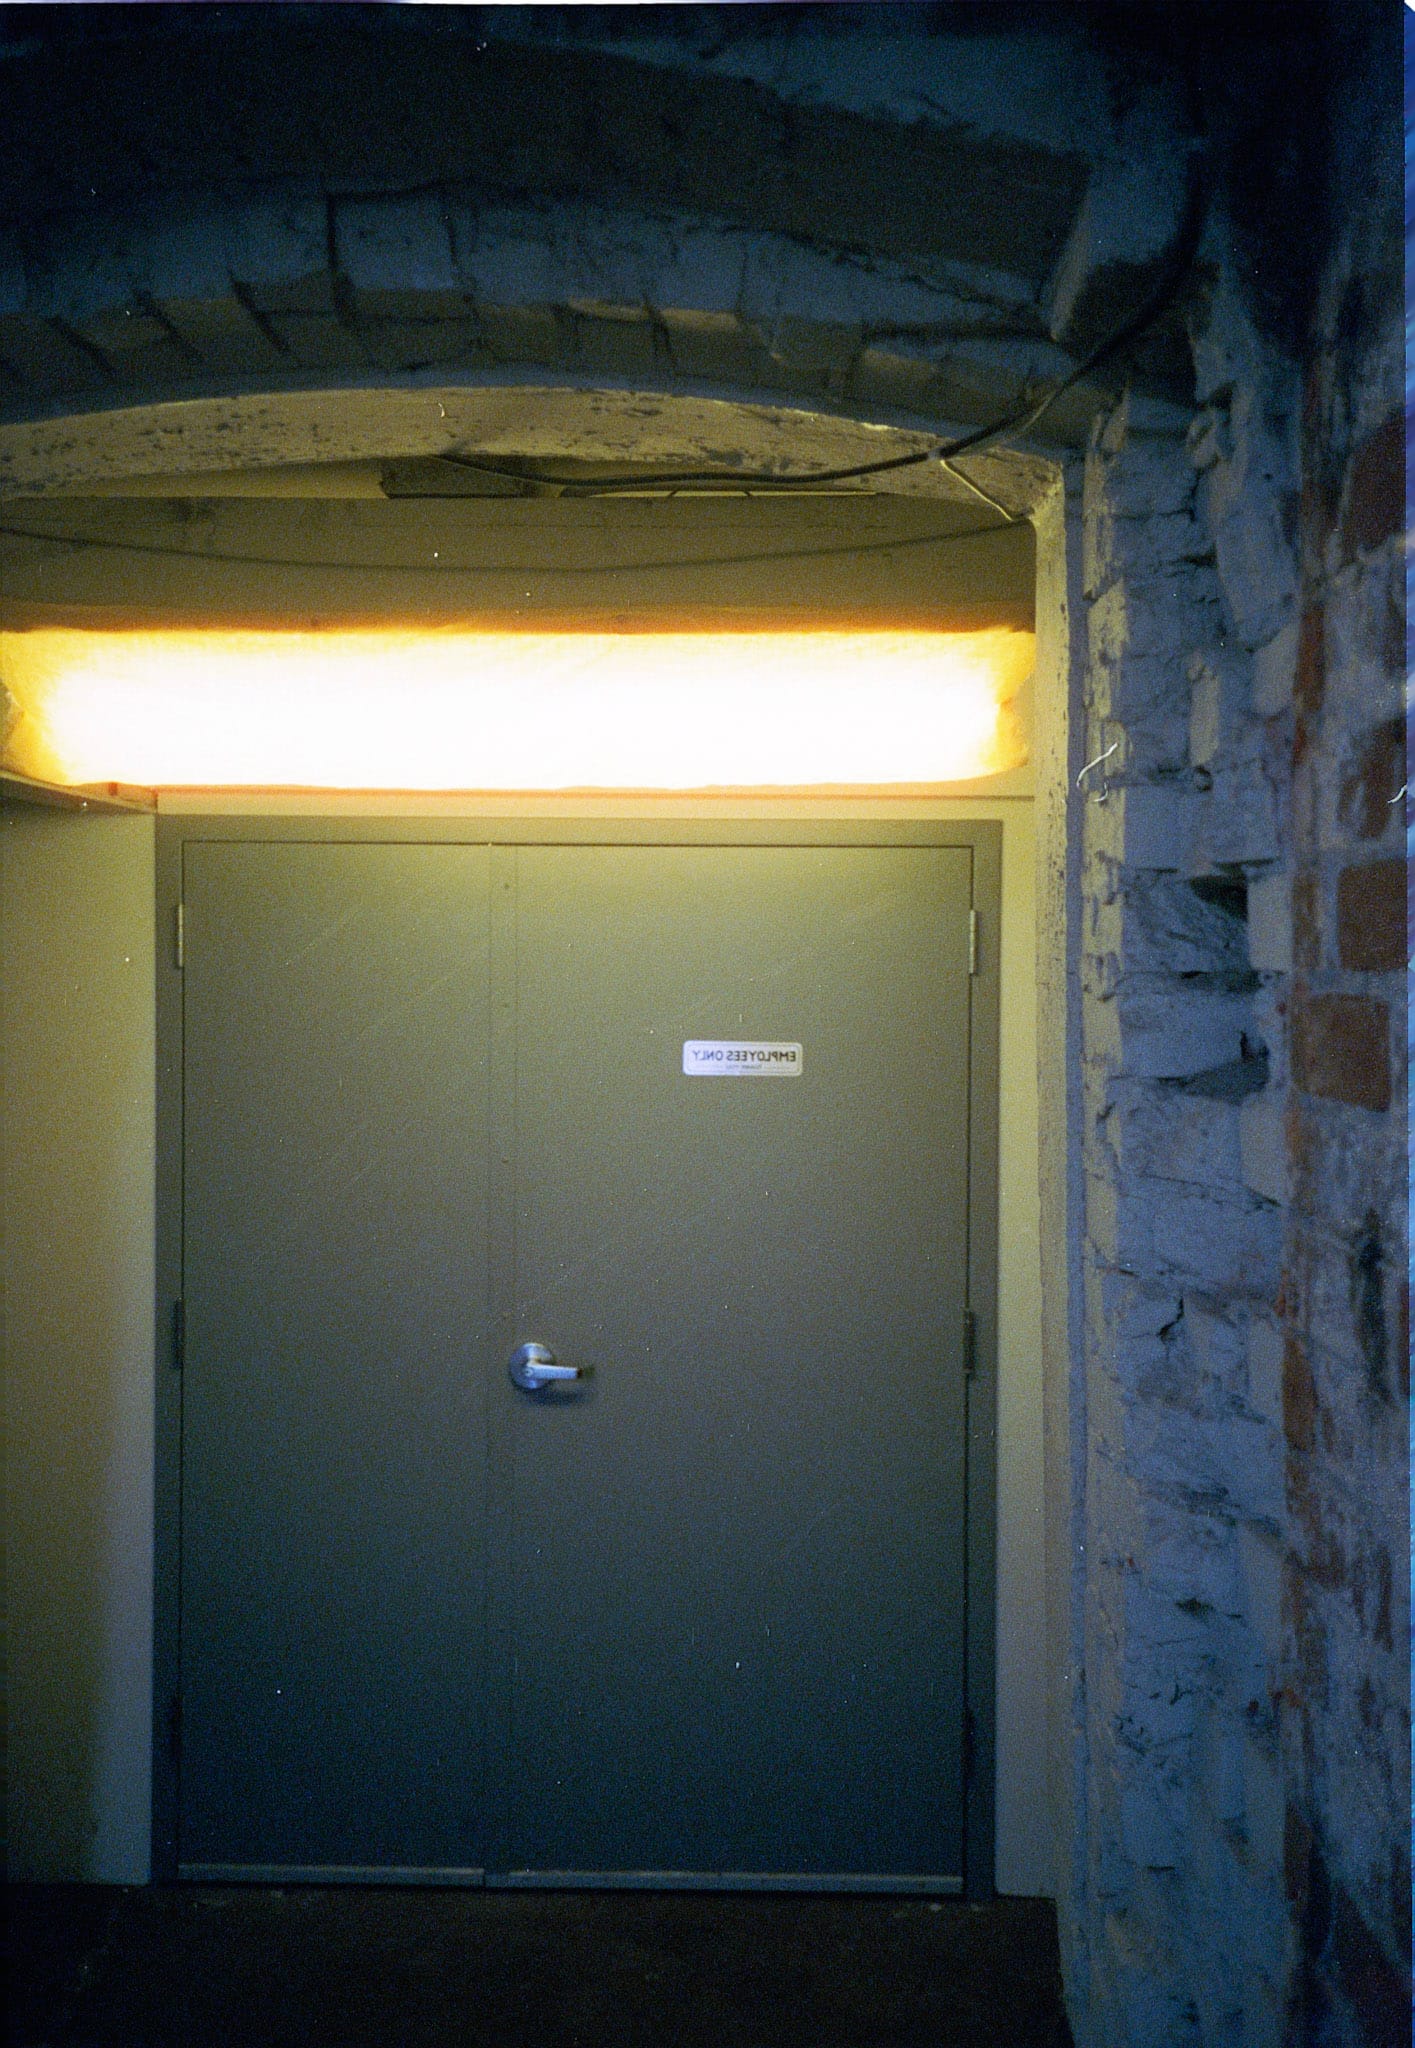
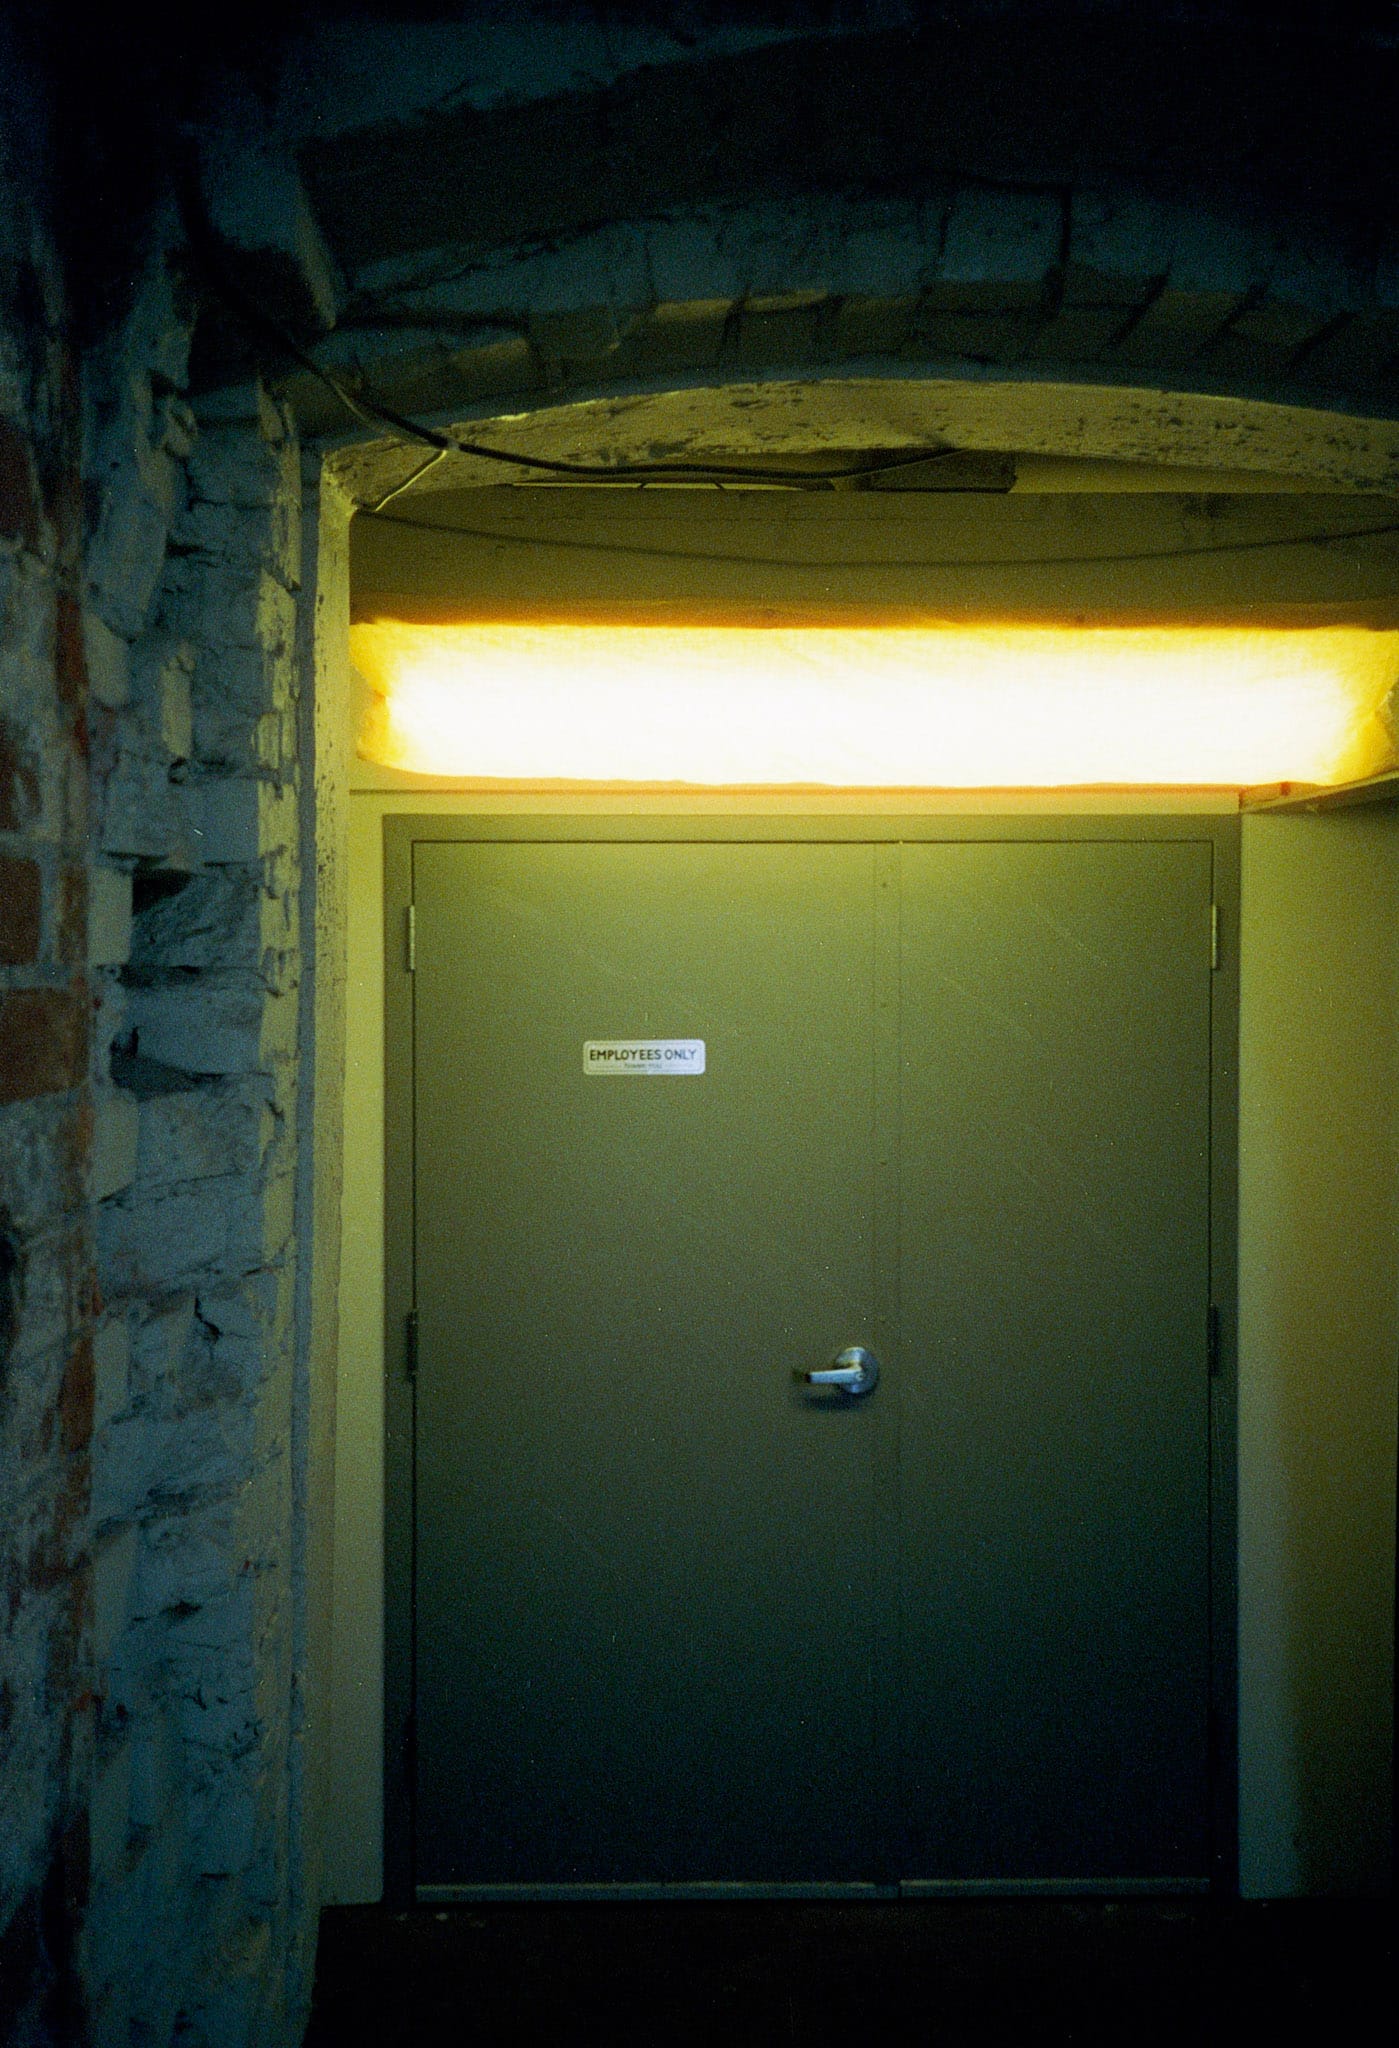
Employees only
I scanned a bunch of this film (CineStill 800T) and part way through the roll decided to start setting the black/white/neutral points which gave me an image that I was happier with. Setting the black and white points help establish a ground truth for the image and the neutral can help achieve a more accurate tone.
Left: straight off the scanner, Right: scanned with adjusted black/neutral/white points
In the brewery
One of my favorite properties of the CineStill 800T film is this crazy halation you get around the lights. The image on the left looks a lot bluer/cooler and this scan was before I made the changes to the black/white/neutral selections on the image. You can also tell in the darker areas on the left that the dust specks on the film are a little more prevalent before I dusted them on the second scan.
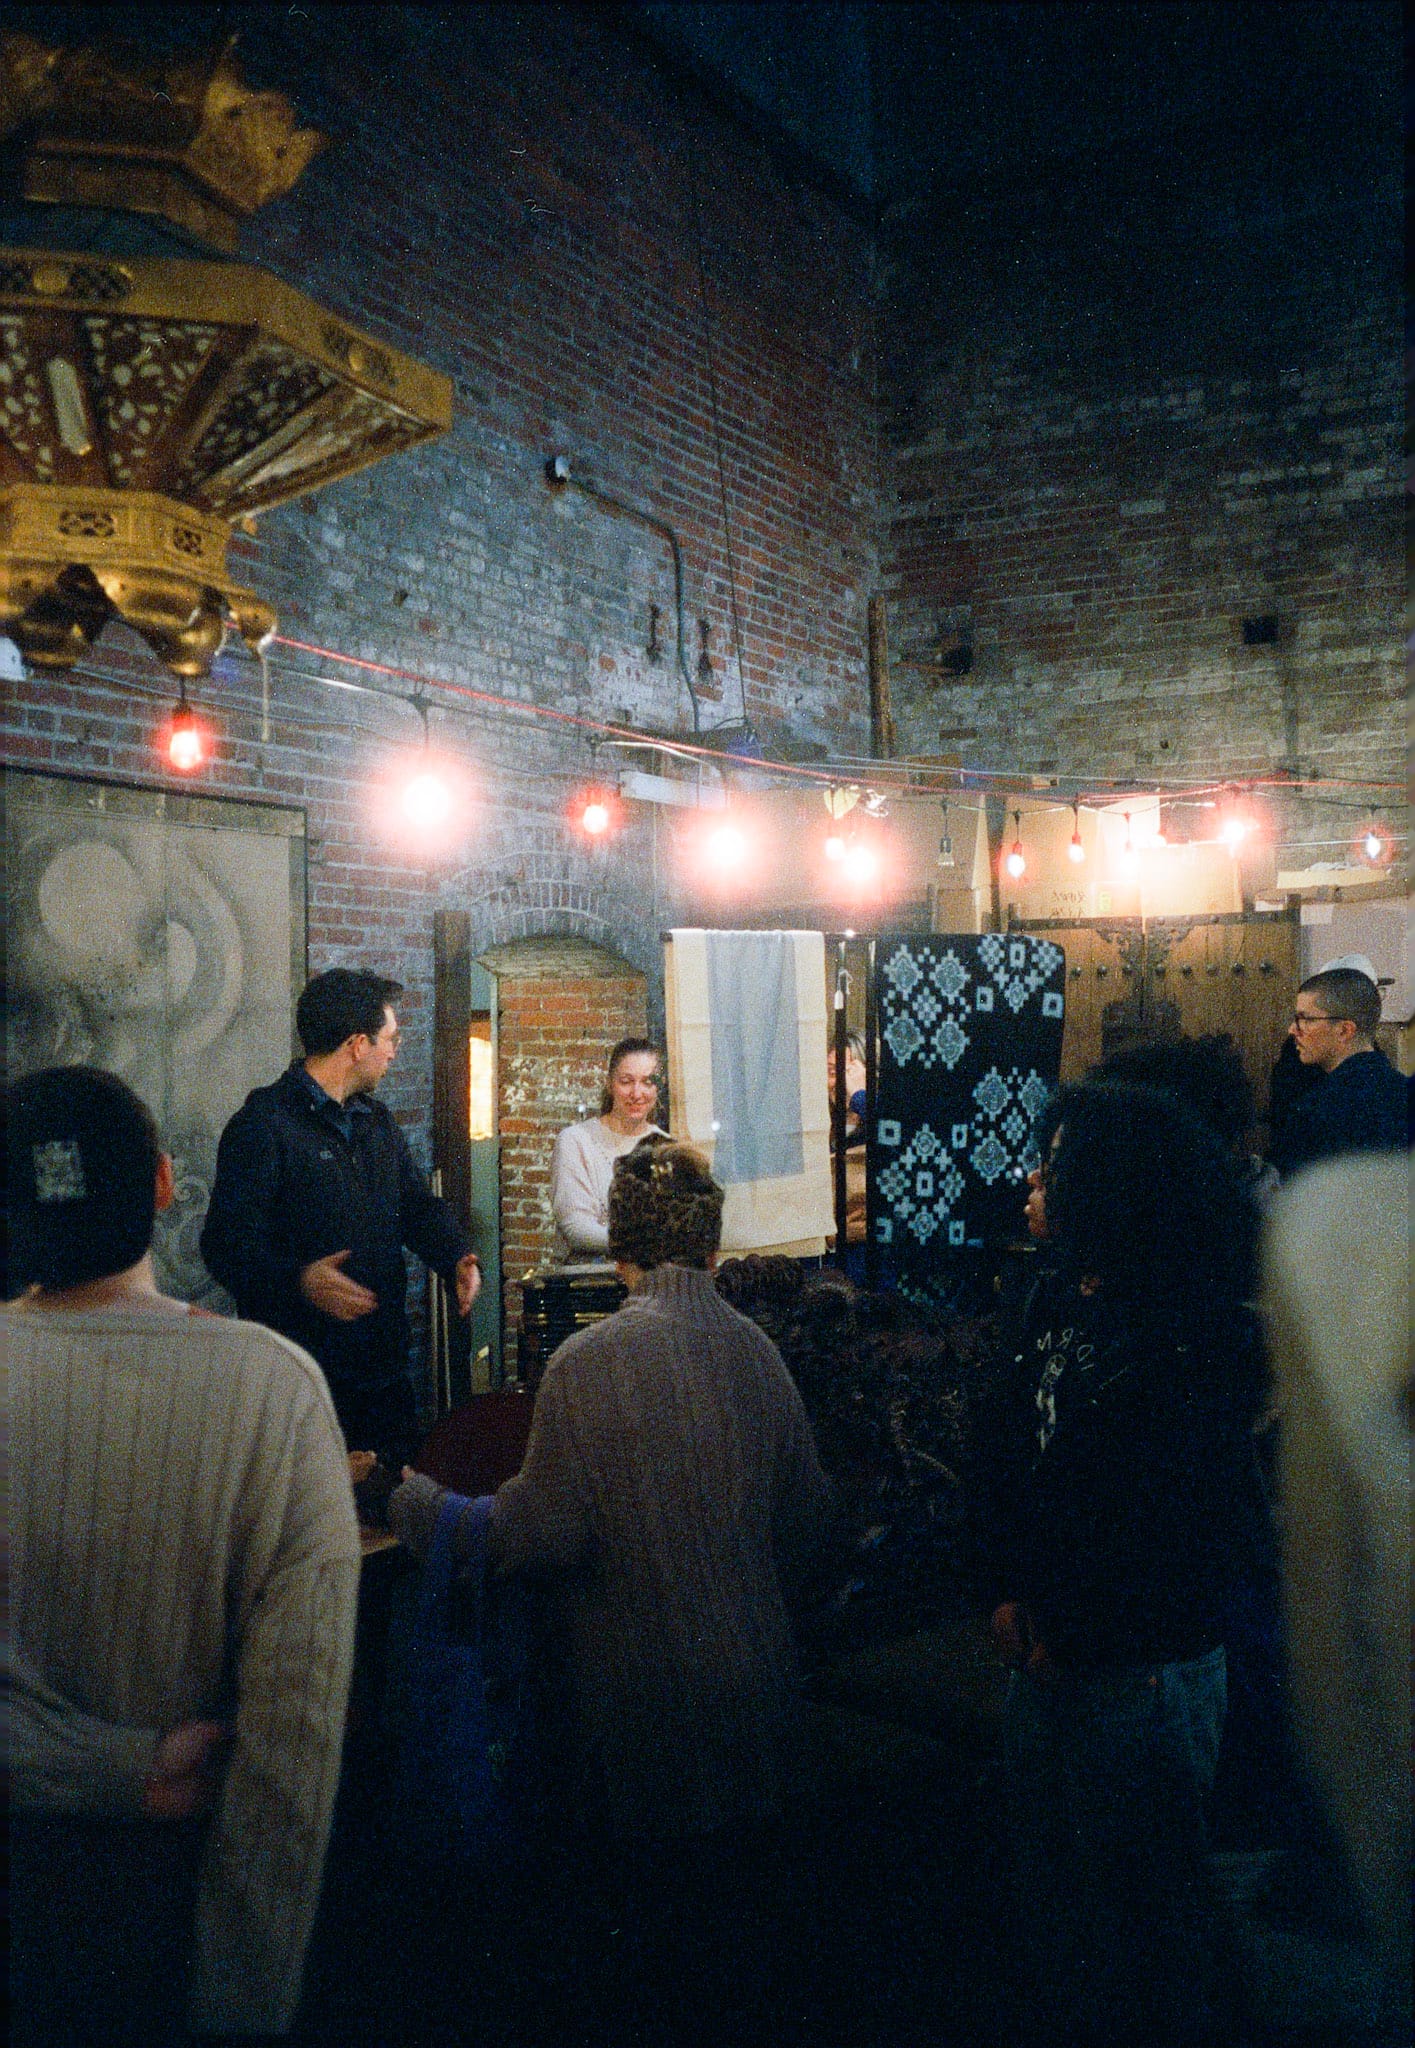
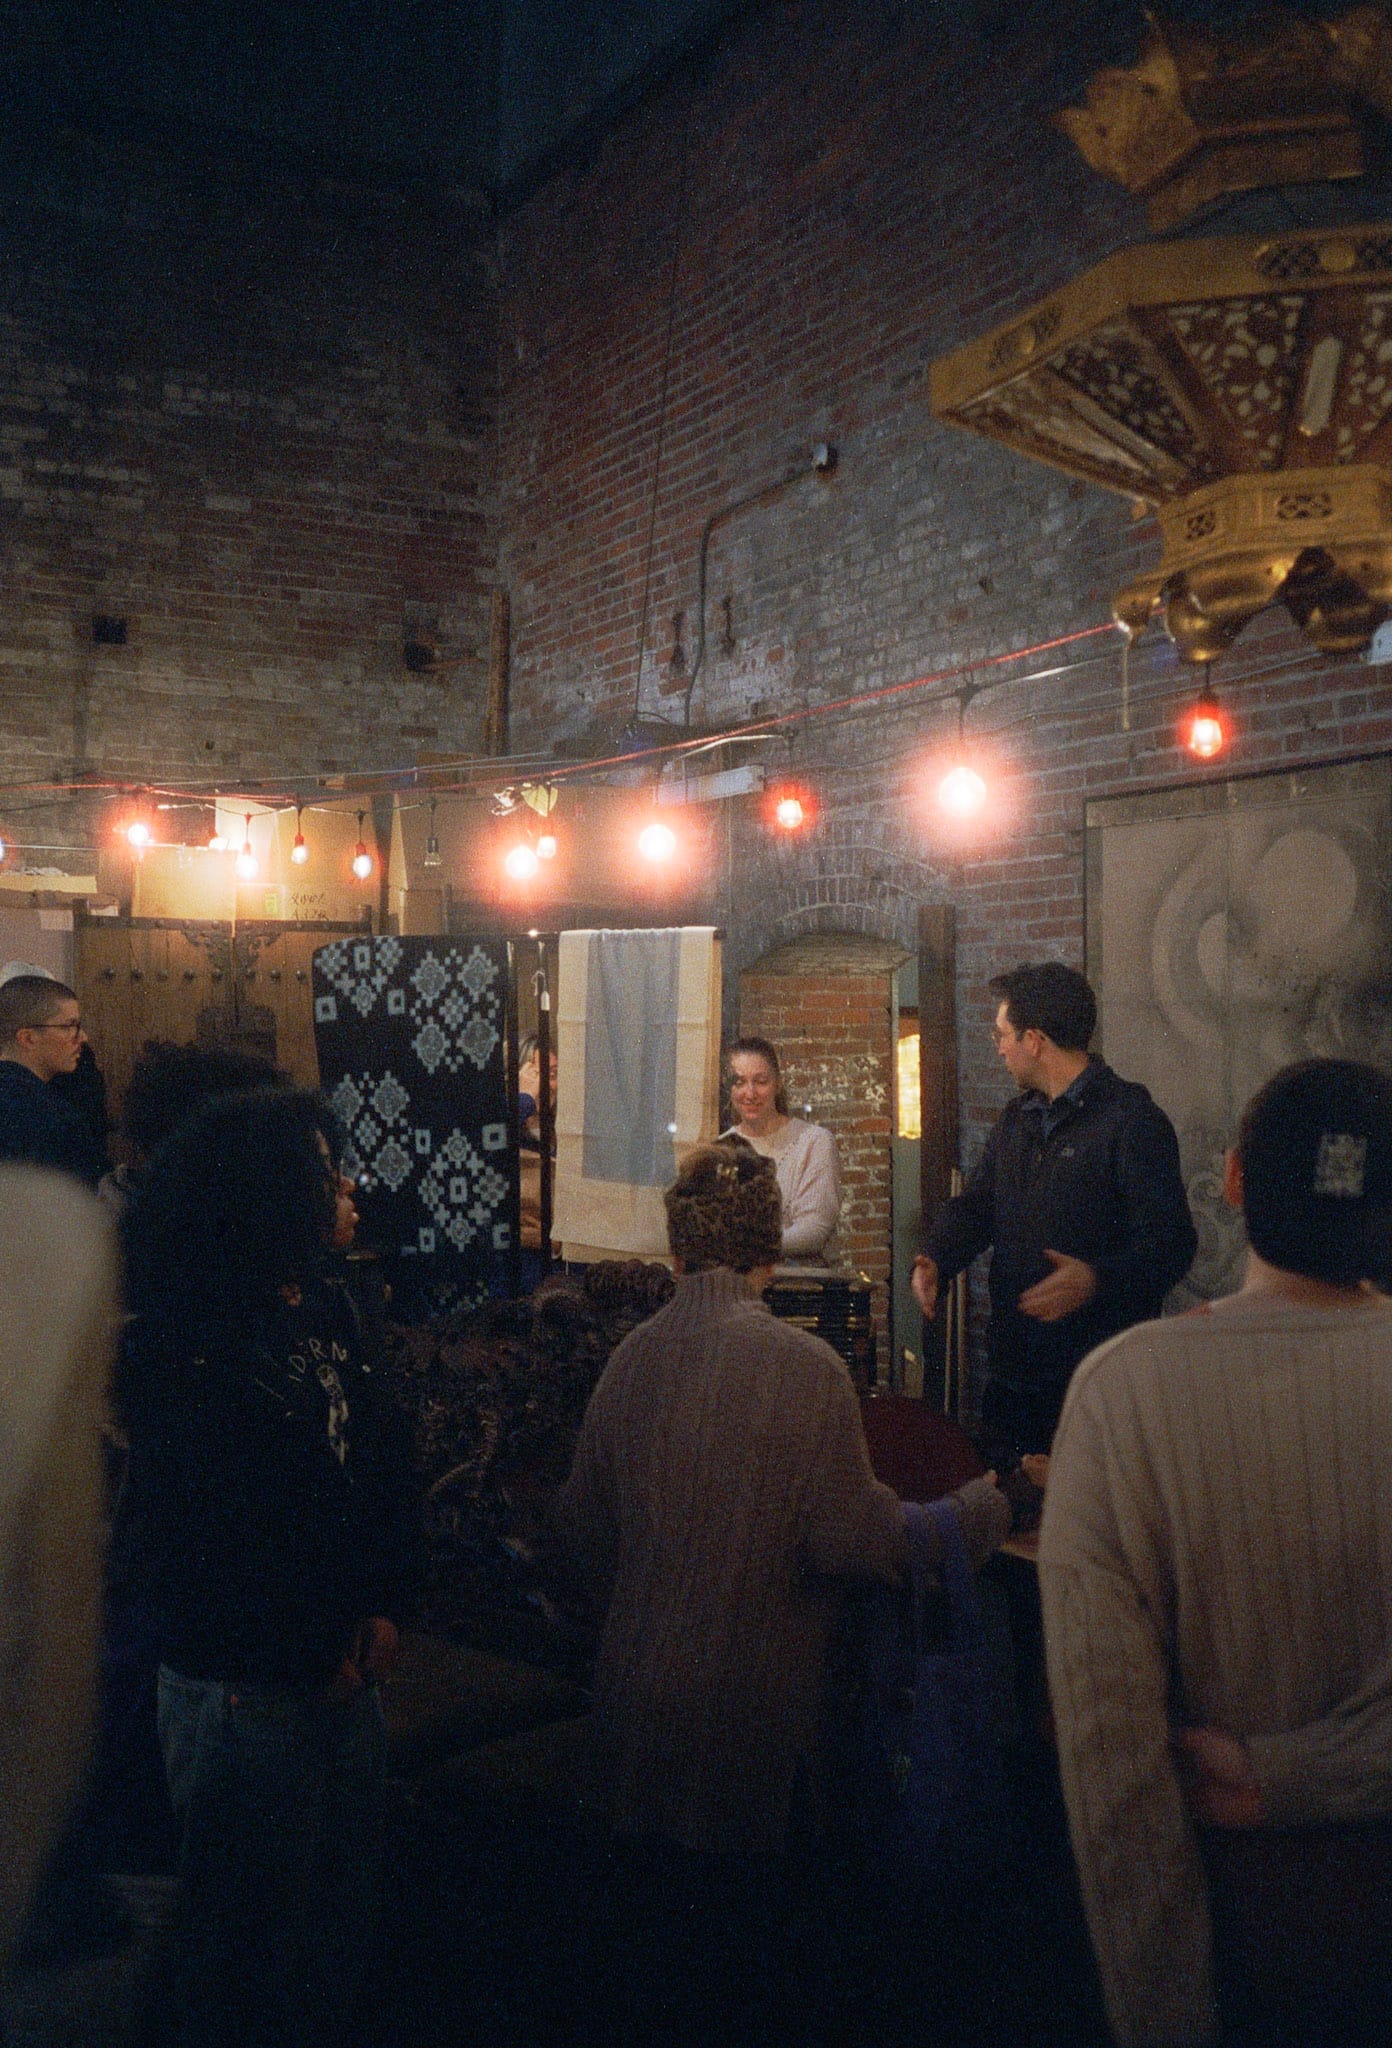
Left: straight off the scanner, Right: scanned with adjusted black/neutral/white points
Full Throttle Bottles
I think this photo shows the best example of how setting the black/white/neutral points really changes the image. The image on the left is flat and blue while the image on the right feels much more rich and true-to-life color.
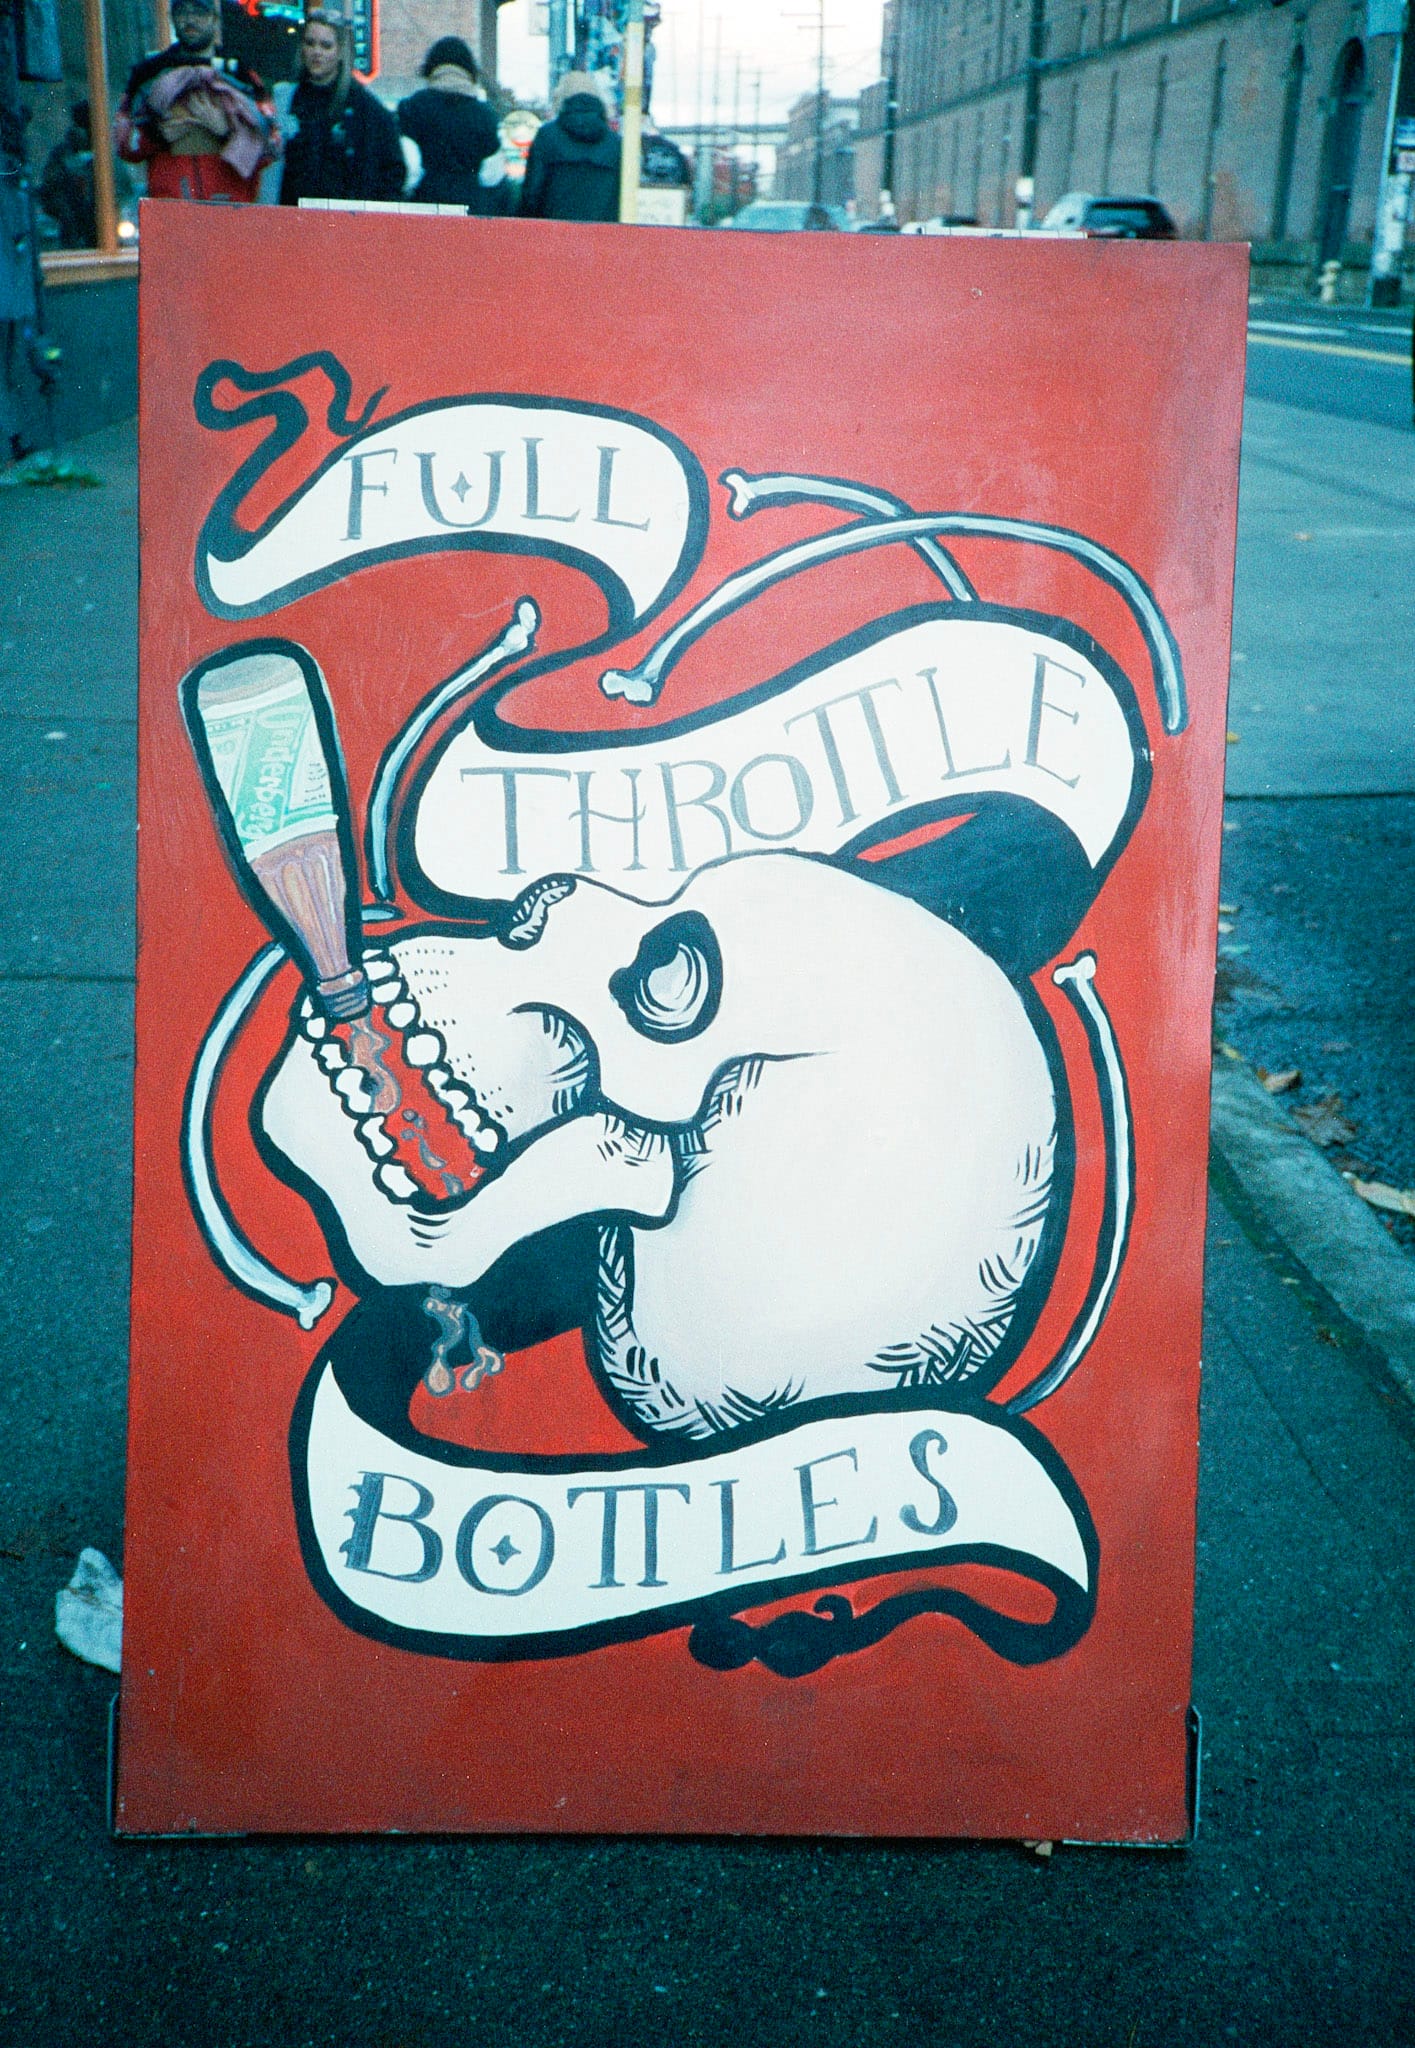
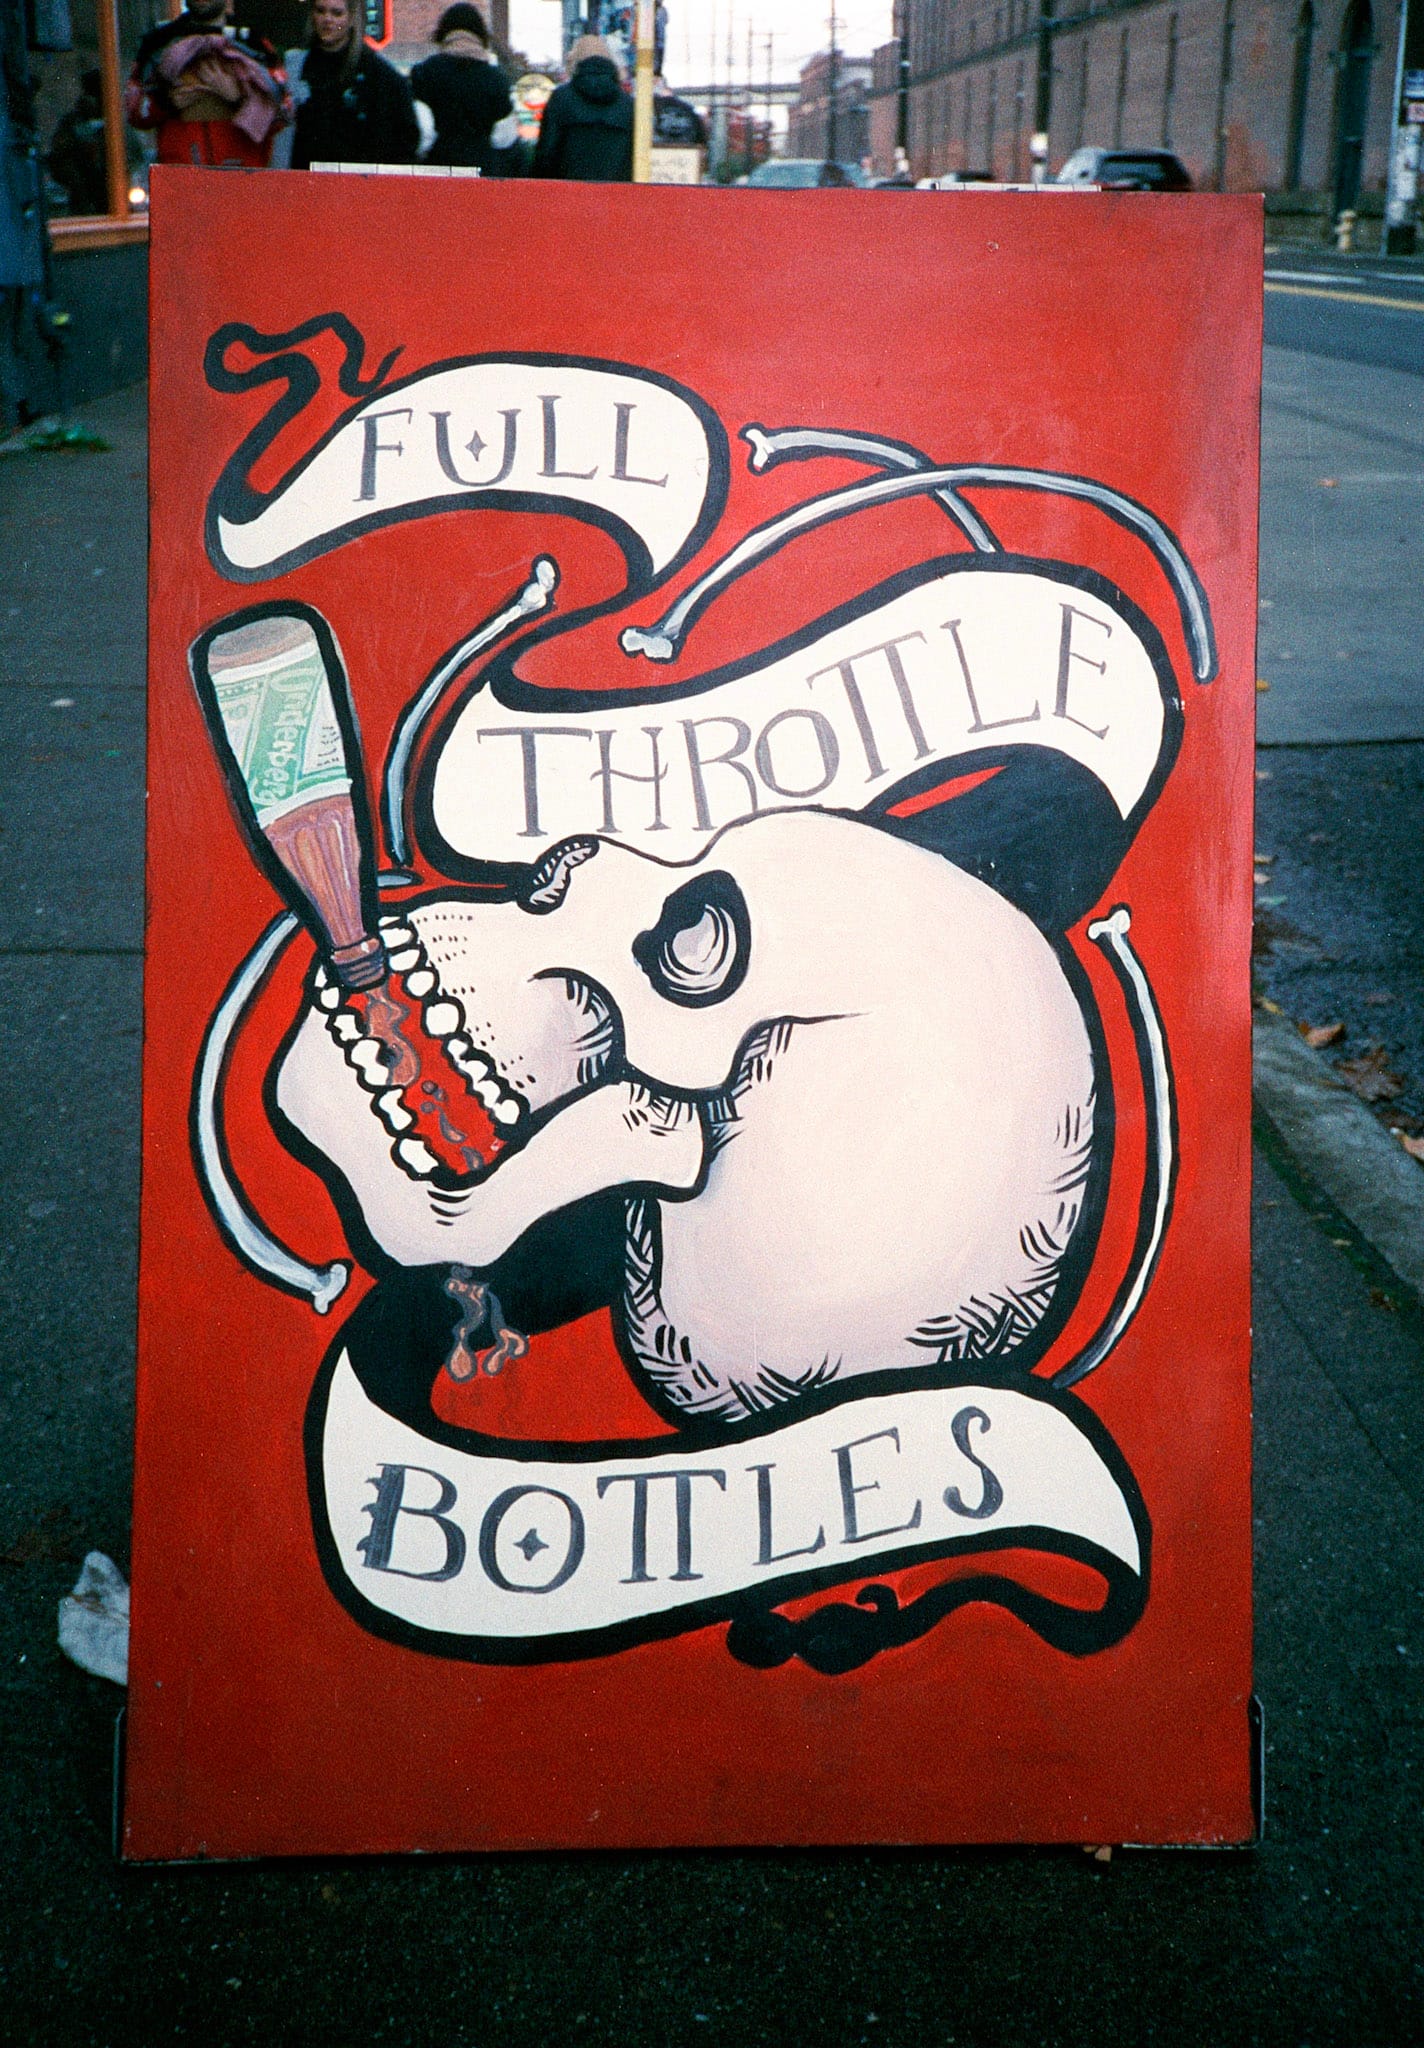
Left: straight off the scanner, Right: scanned with adjusted black/neutral/white points
Fantagraphics
This photo was probably my most anticipated of the day. I was shooting on my Nikon L35AF point and shoot camera which is this old film camera from the 80s. I knew that shooting a bright window while inside was a risk but CineStill 800T's halation could give a really, really cool effect here.
You can tell in my rescan of this that I didn't have the film properly seated in the first place and lost a chunk of the image. I'm really excited to edit the one on the right to see if I can make it just a little more perfect.
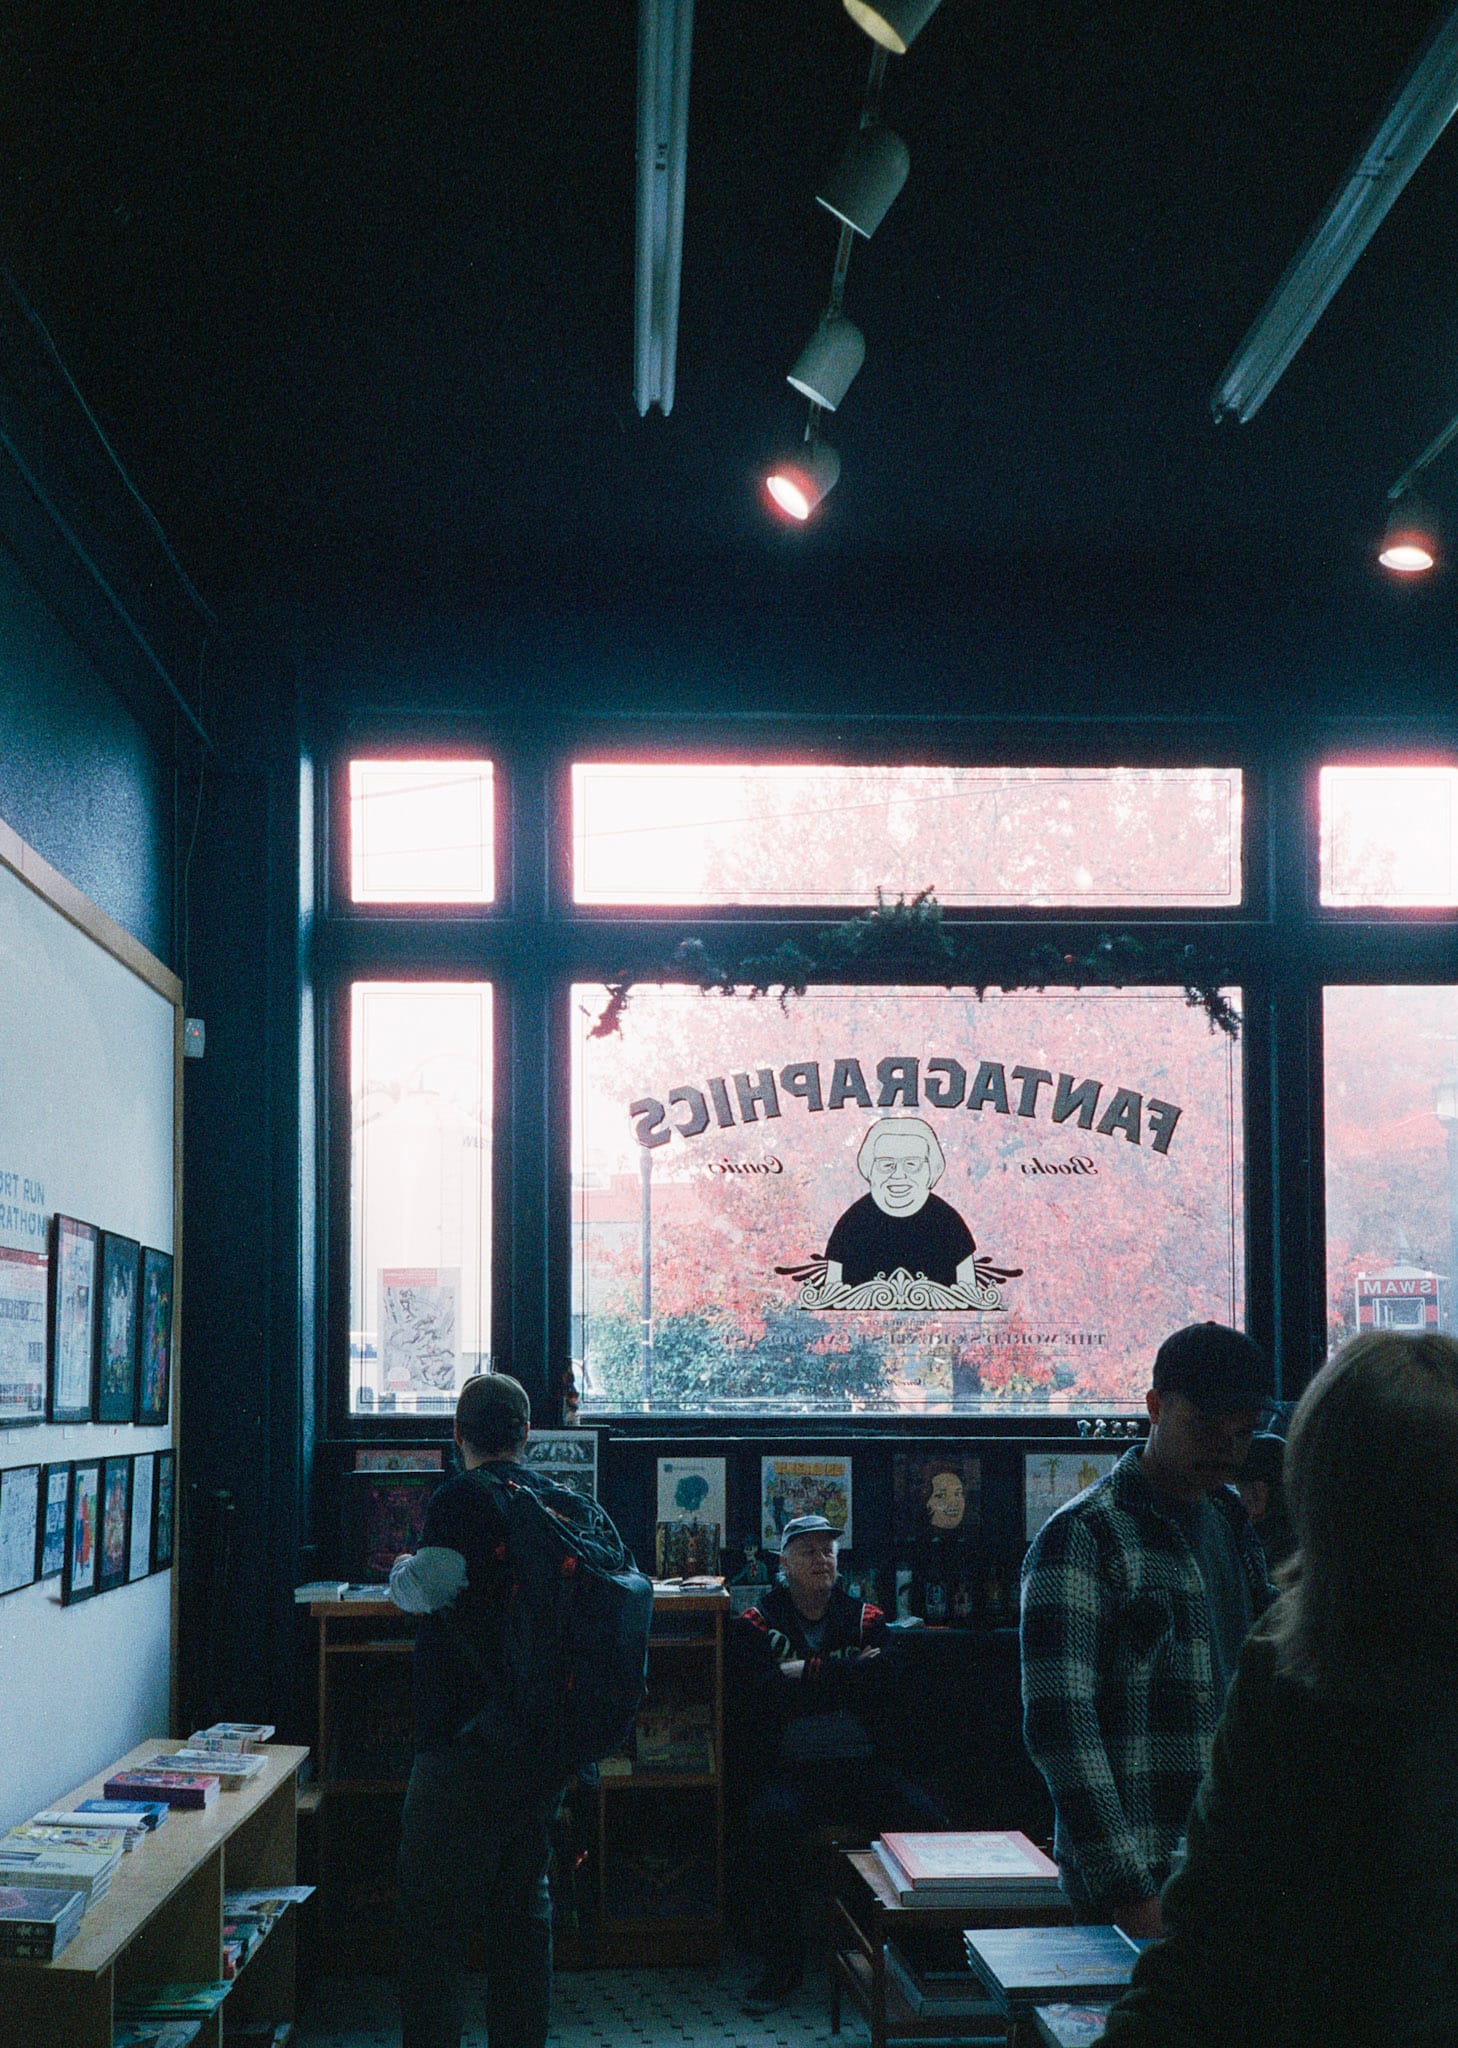
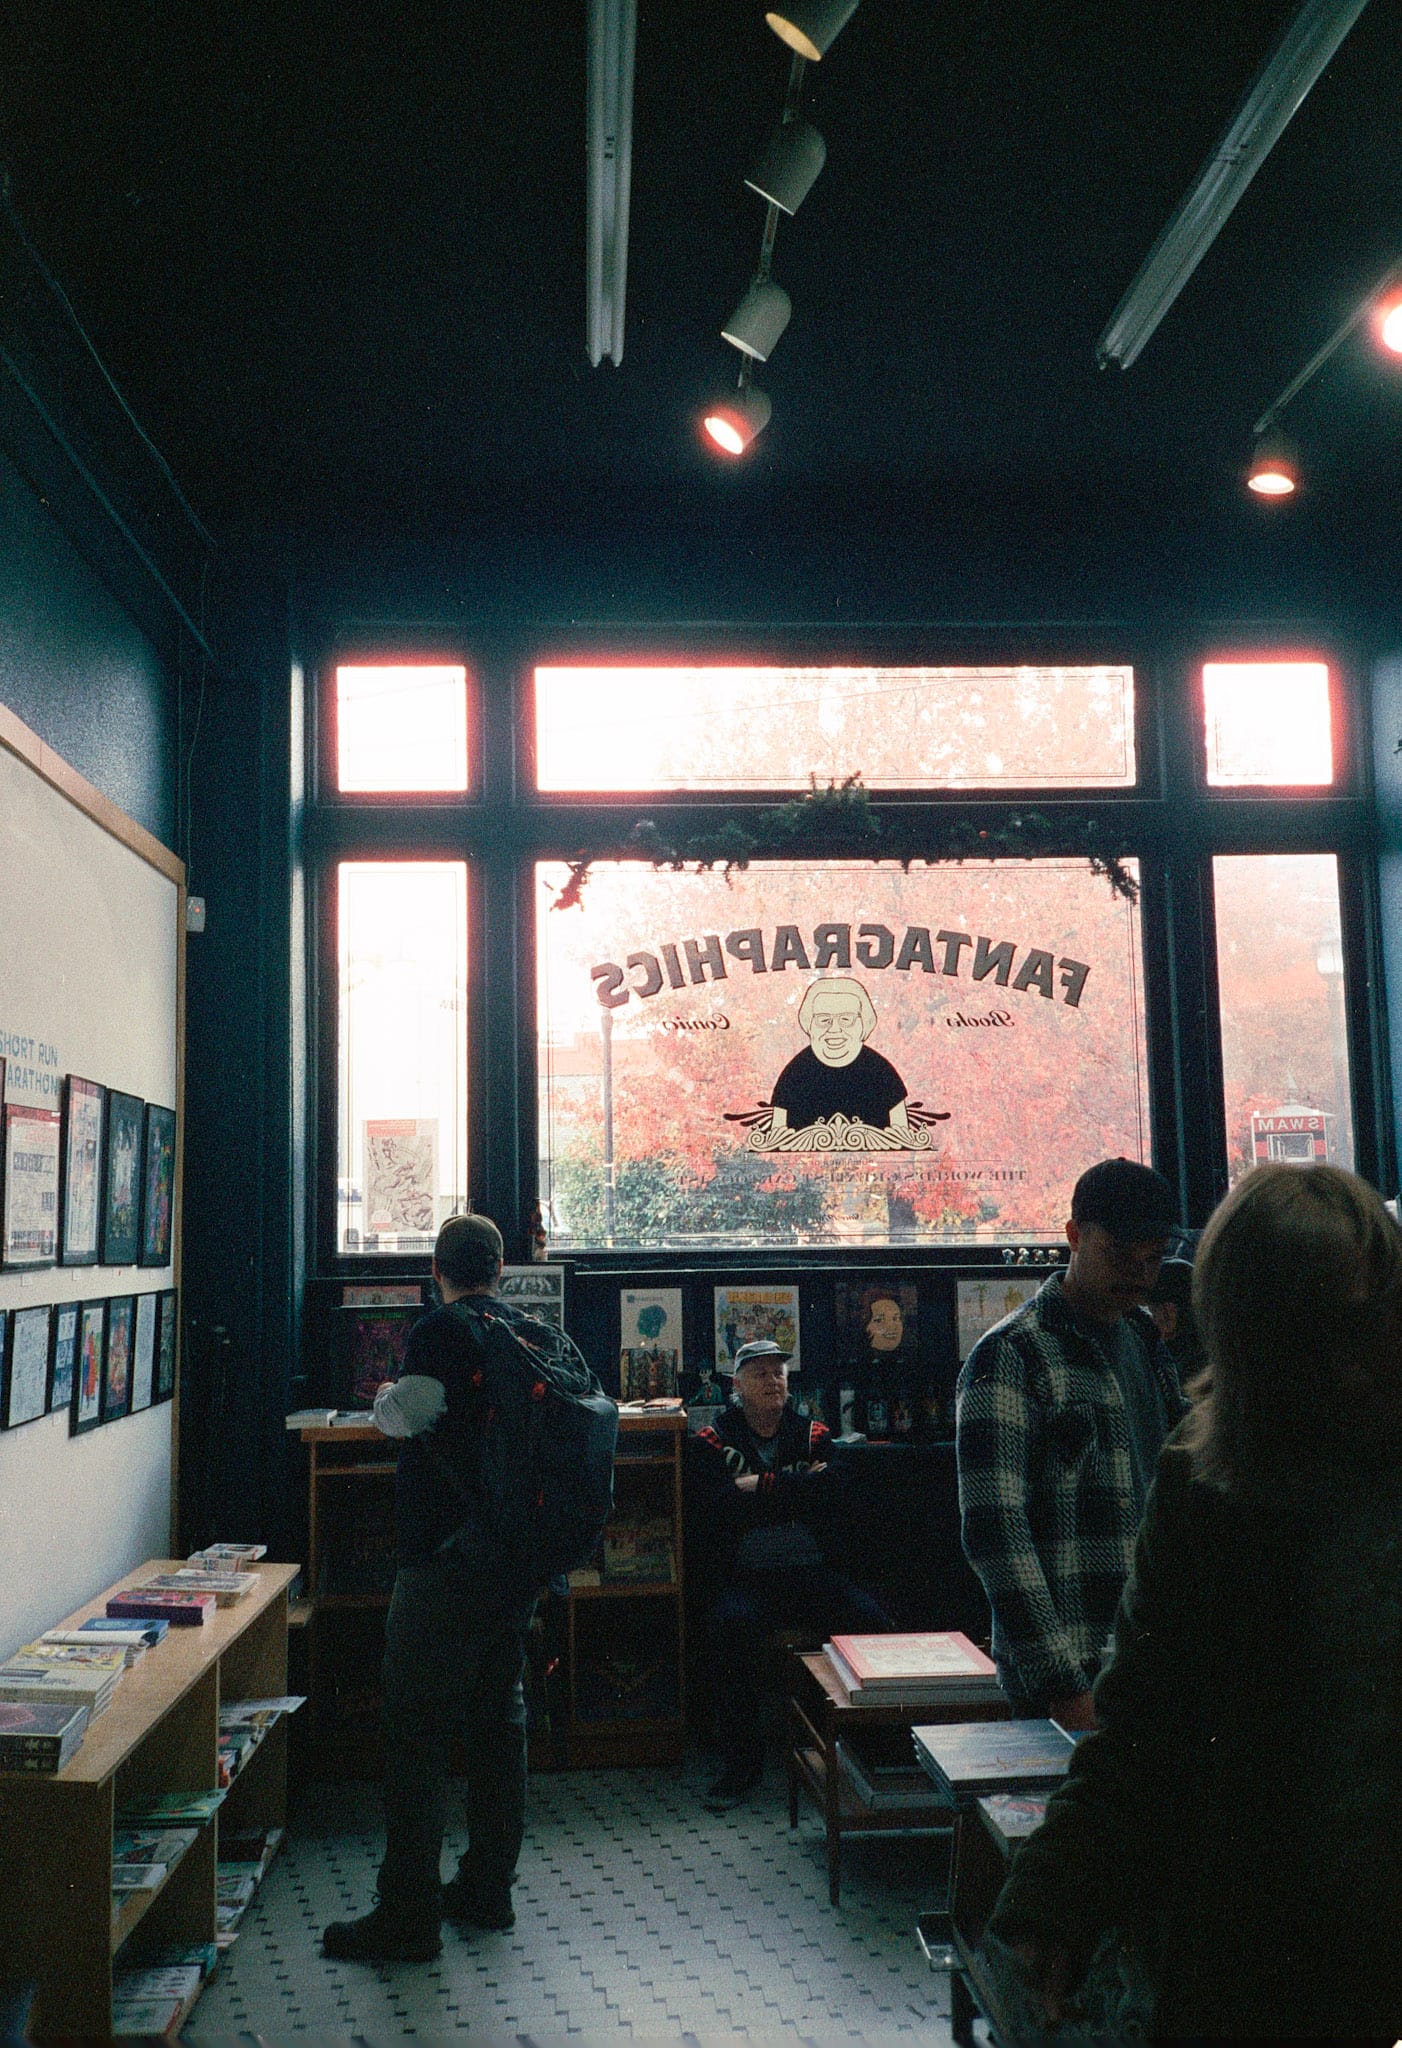
Left: straight off the scanner, Right: scanned with adjusted black/neutral/white points
Missing teeth
Similar to the Full Throttle Bottles photo I feel like this is another great argument for setting the black/white/neutral points in the editing. The colors feel rich in the re-can and the details are much more visually appealing even though the pavement loses a little bit of detail due to the shadows.
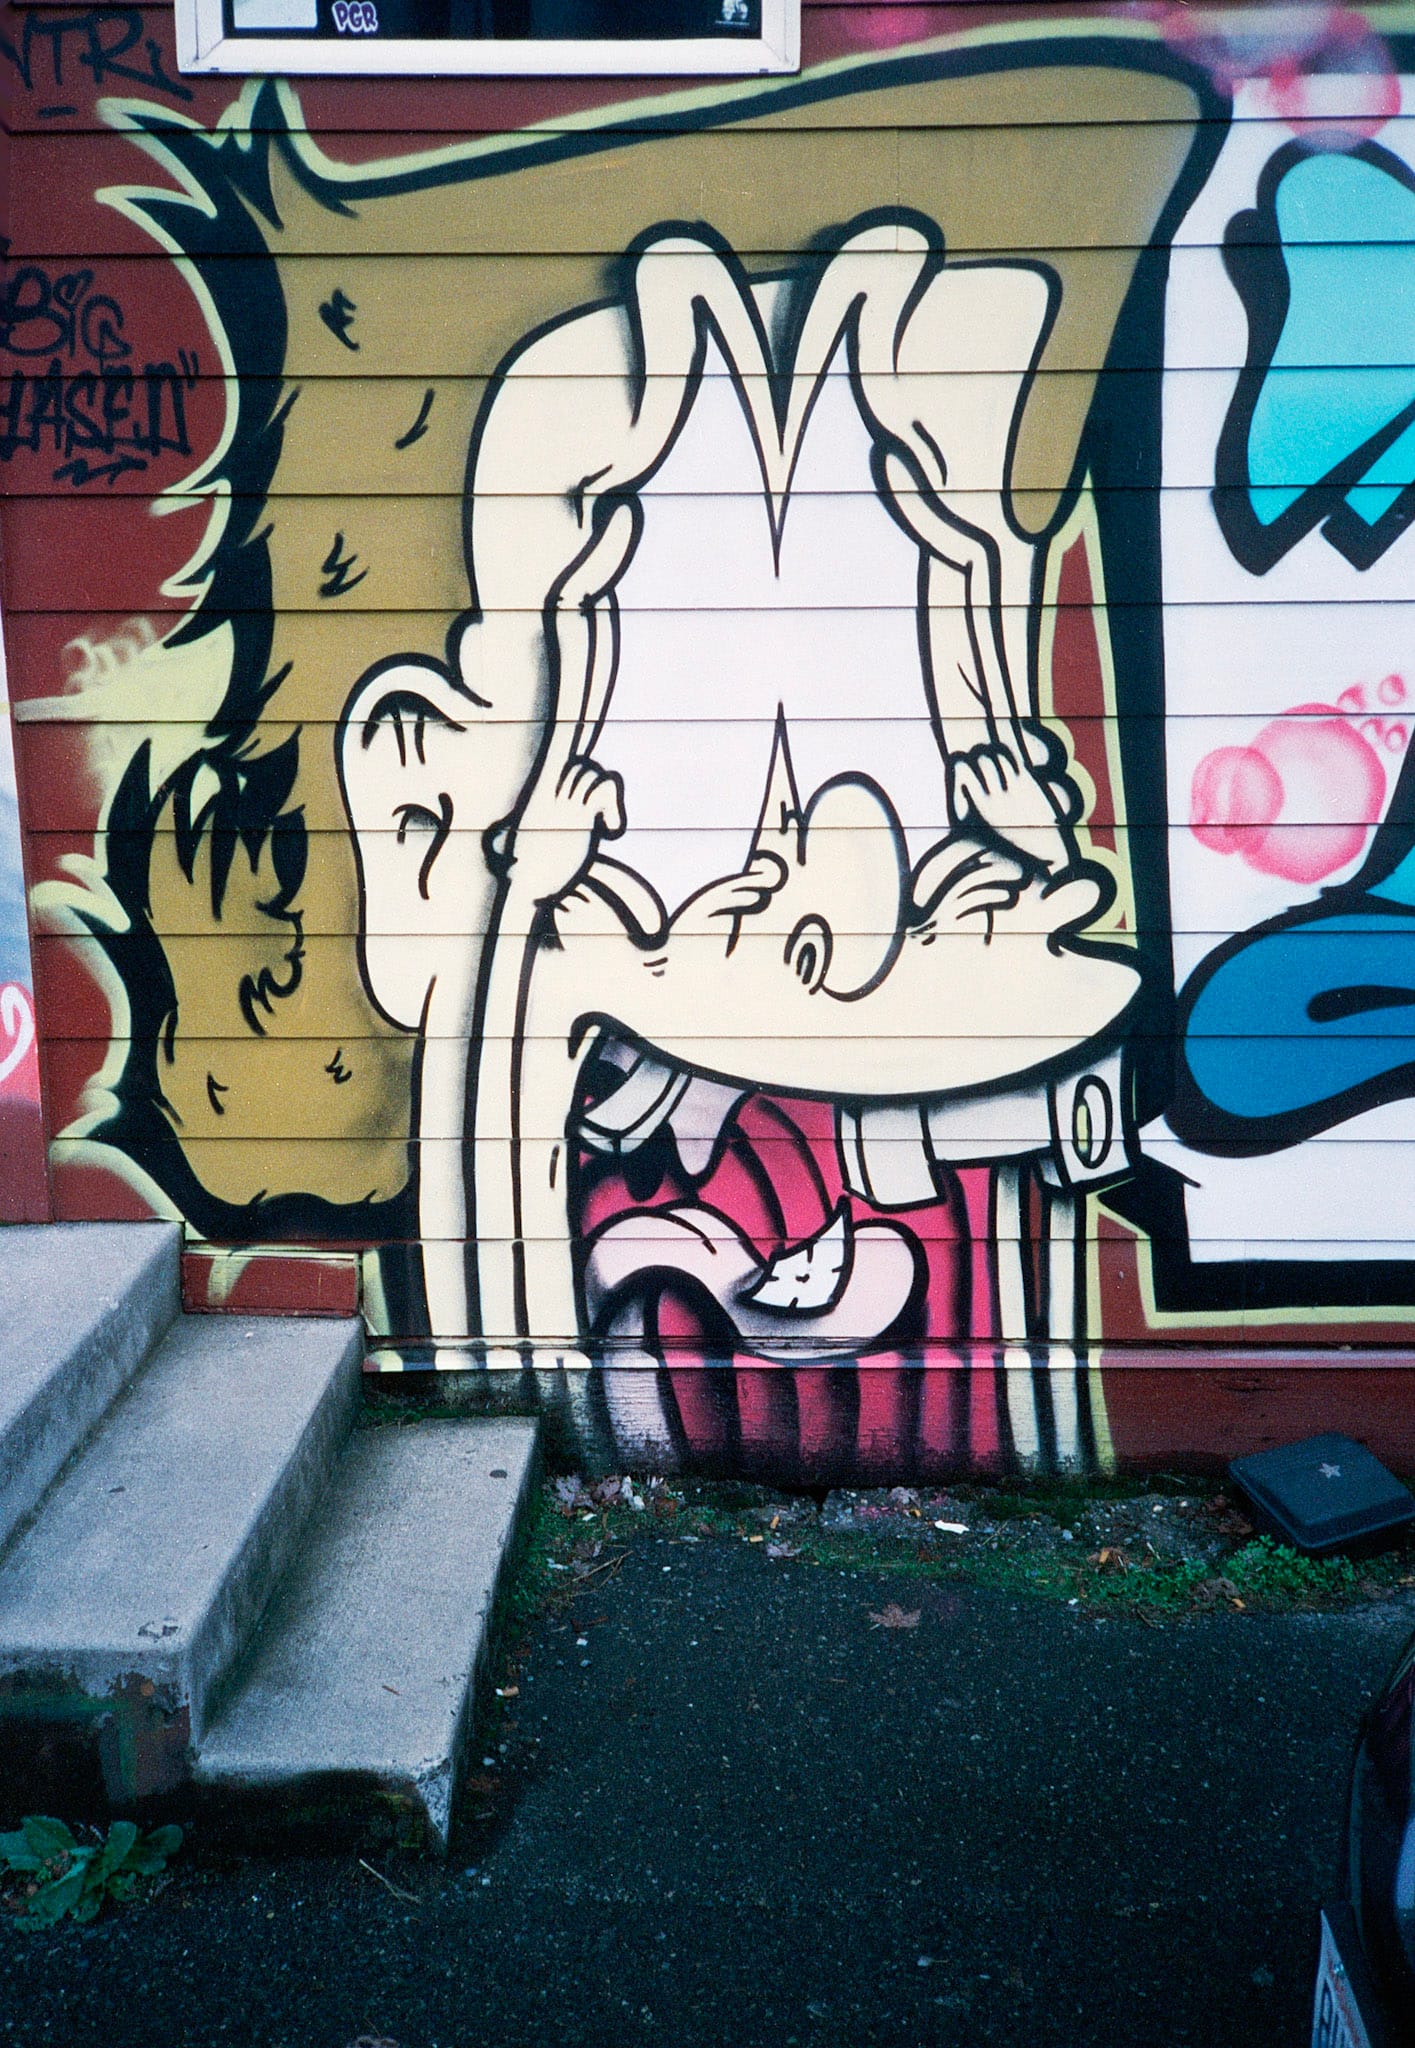
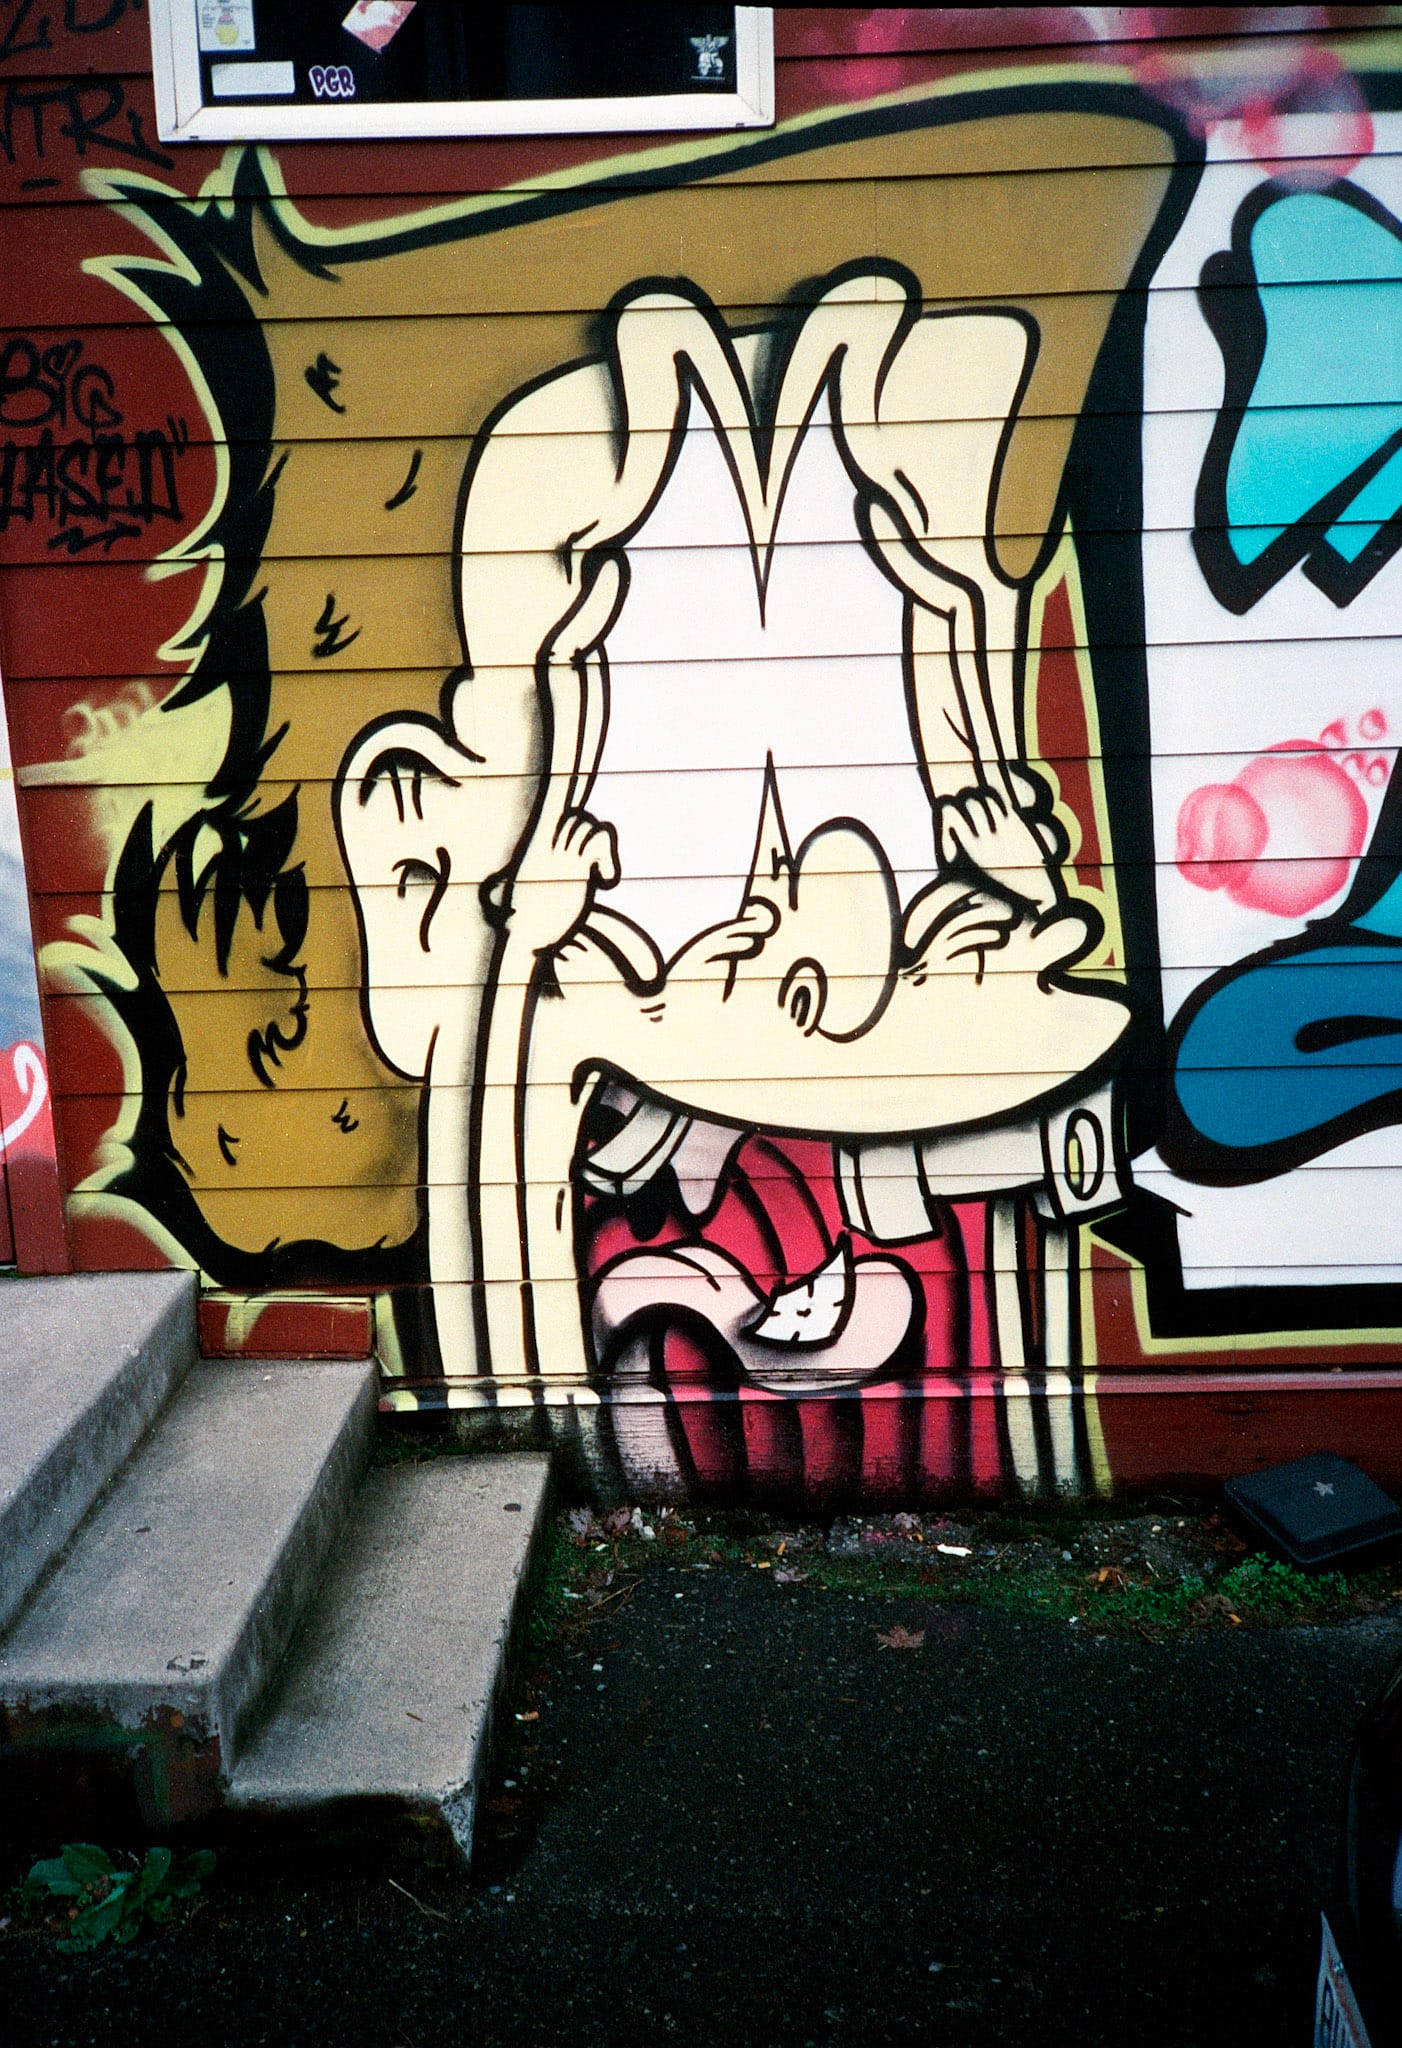
Left: straight off the scanner, Right: scanned with adjusted black/neutral/white points
Golden chandelier
Back again with the crazy halation, these two images don't feel all that different through I can definitely see a shift away from the cooler blues. Once I edit this set I think the differences will be a lot more clear.
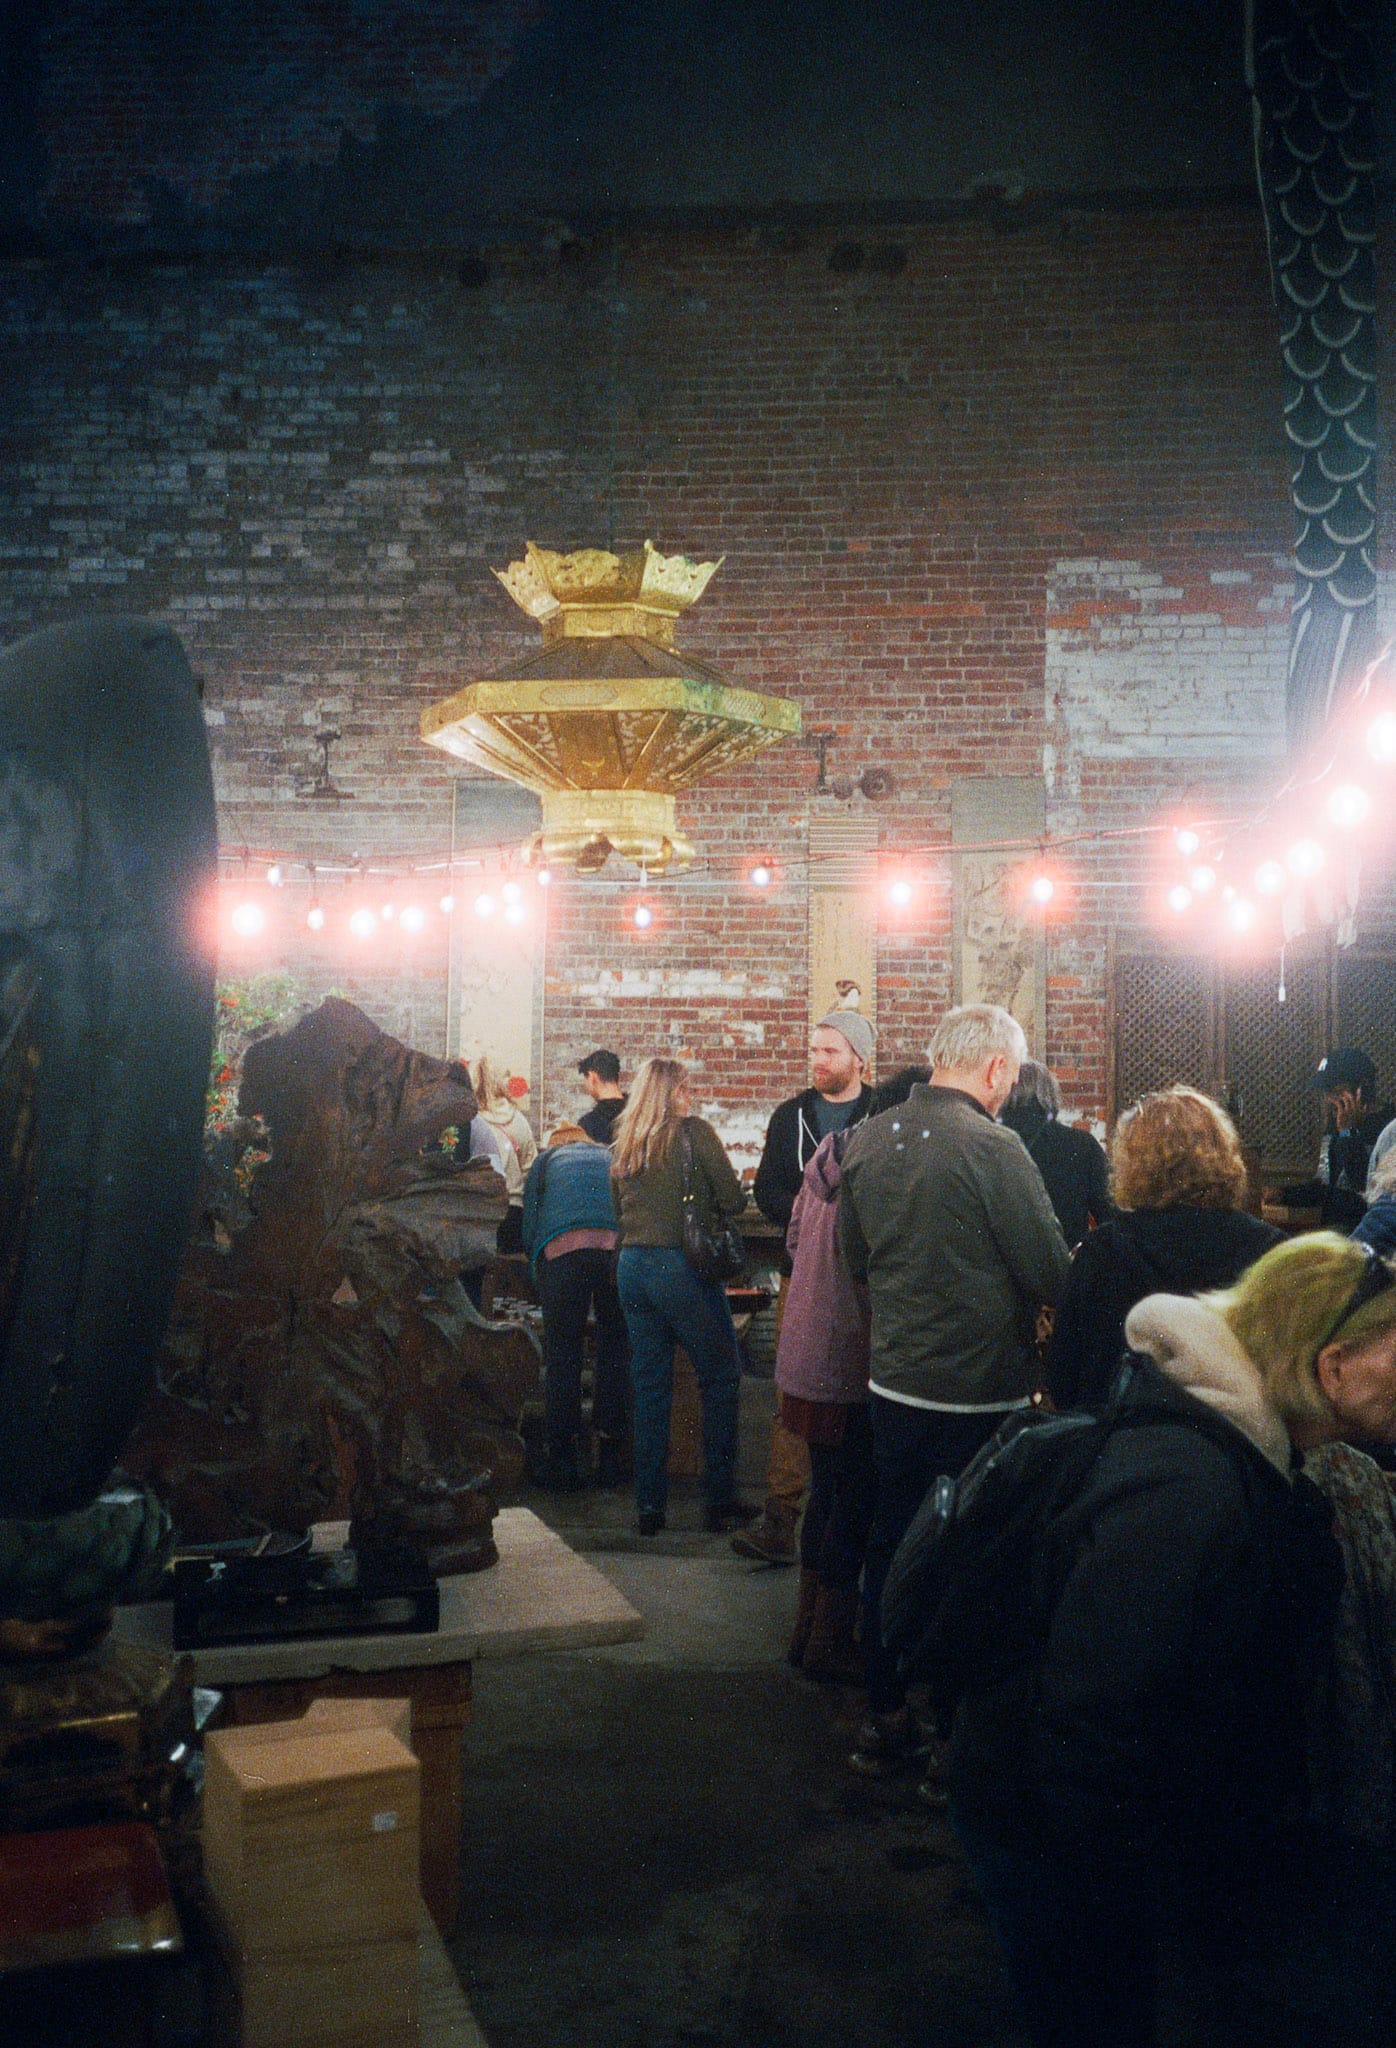
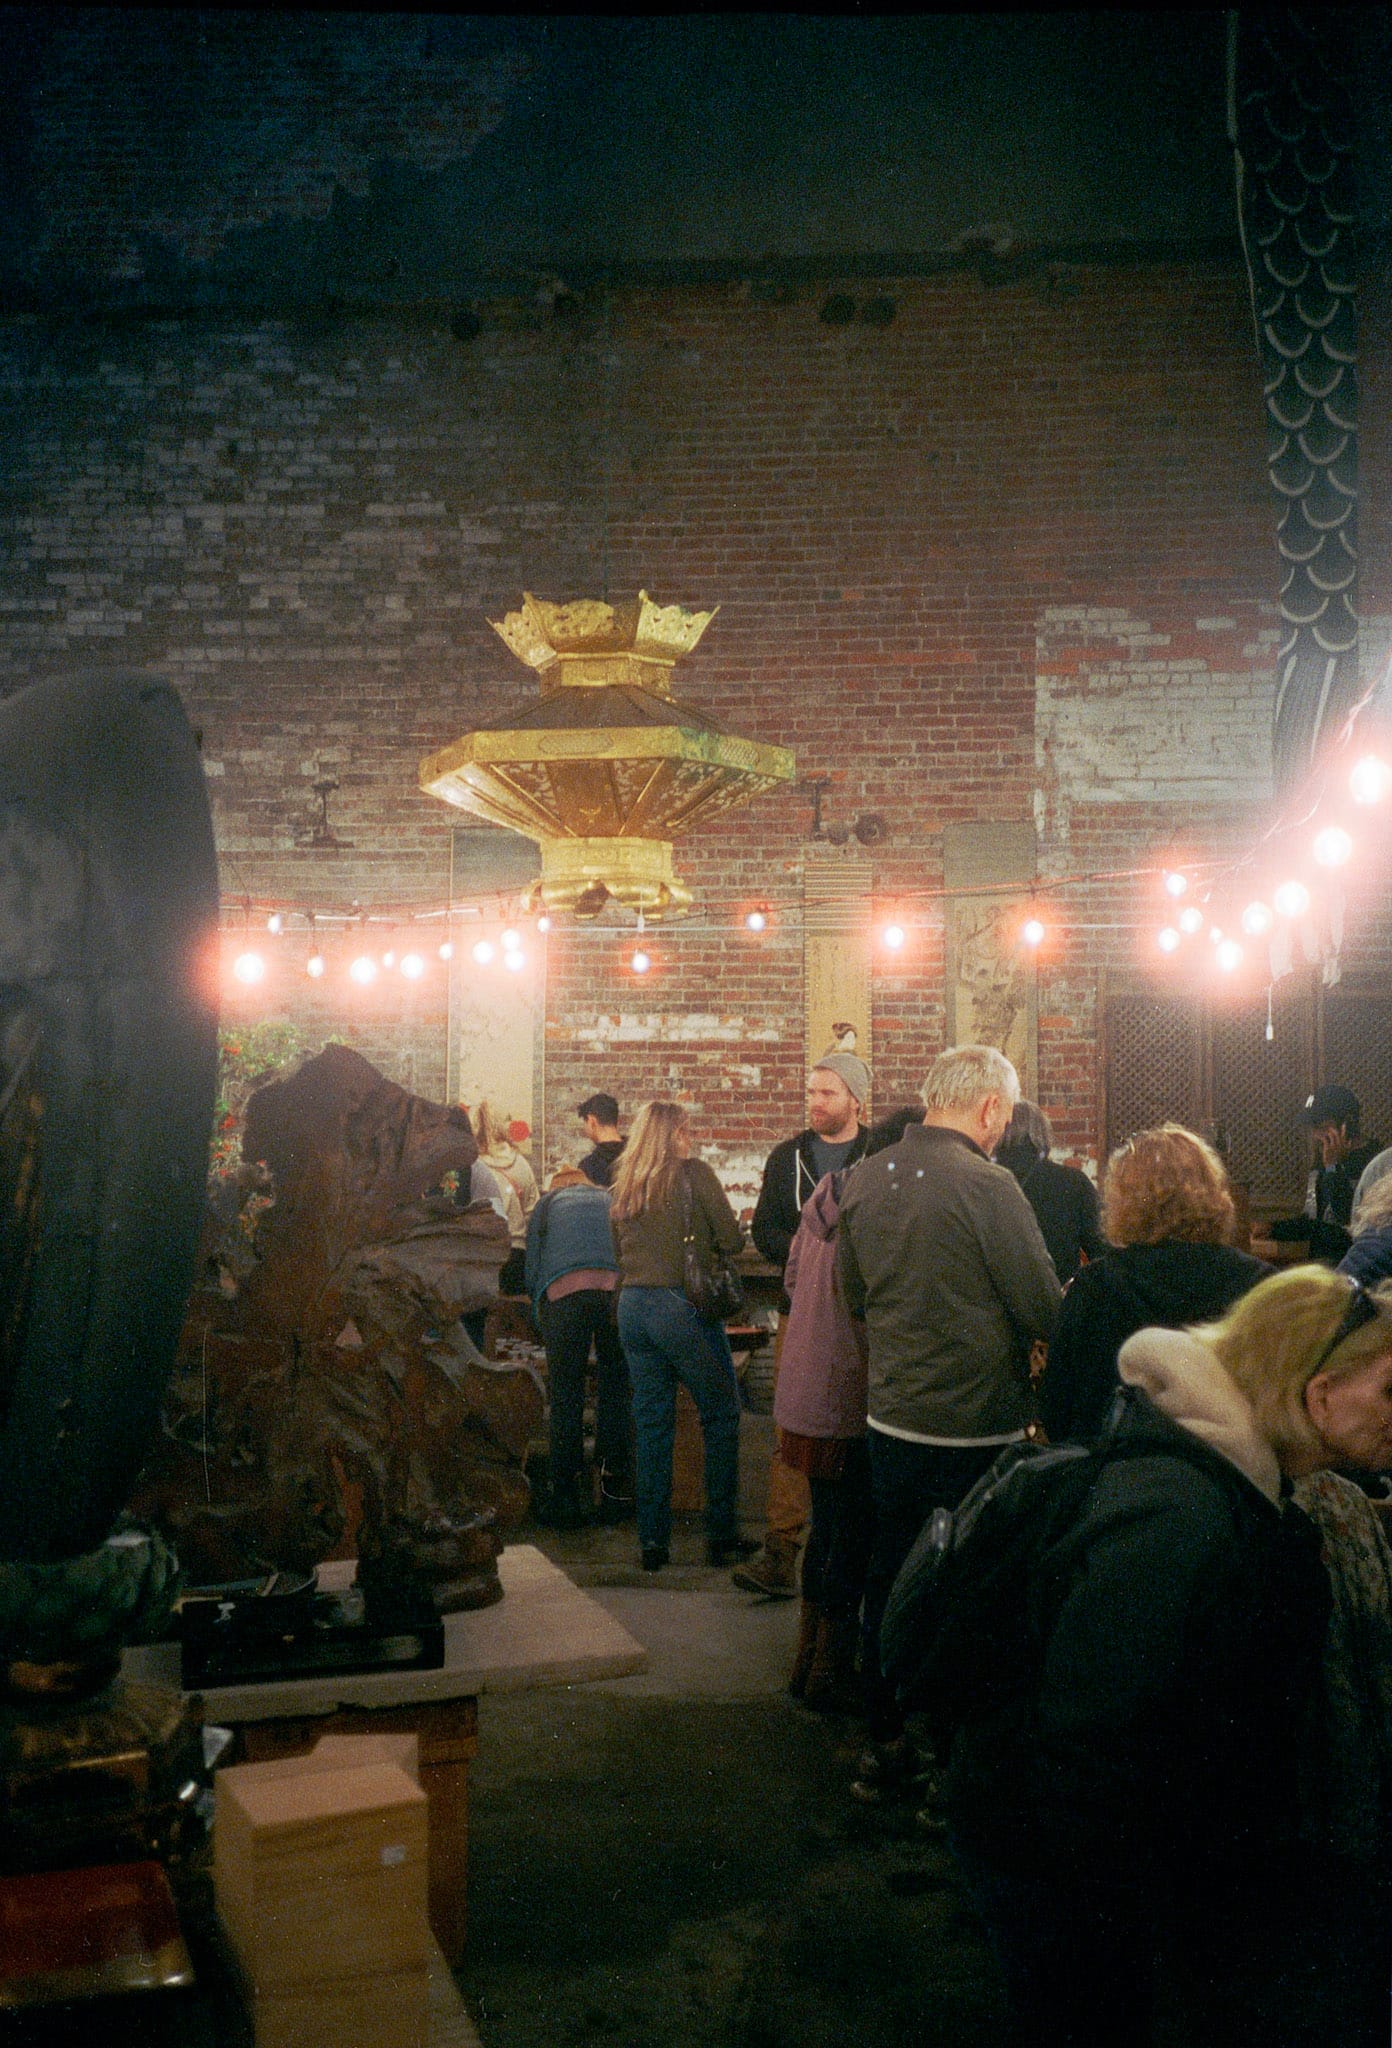
Left: straight off the scanner, Right: scanned with adjusted black/neutral/white points